Best Skies for Photoshop Sky Replacement (Free & Paid Packs)
The success of a sky replacement in Photoshop depends as much on the sky image as the masking technique. In this guide, we’ll share the best free and premium sky packs, explain how to choose the right sky, and show how to import custom skies into Photoshop.
Why the Right Sky Image Matters
Even the best sky replacement workflow will fail if the sky doesn’t match the lighting, perspective, or mood of your scene. A bright midday sky over a sunset-lit foreground creates an obvious mismatch. High-quality skies—shot at the right resolution and angle make your composites believable.
Best Free Skies for Photoshop
If you’re testing the Sky Replacement tool, free skies are a great starting point:
- Pexels Skies Collection — royalty-free, thousands of sky options.
- Unsplash Skies — high-resolution skies, perfect for personal and commercial projects.
- RawExchange Free Sky Samples — professional skies from premium packs, great for testing.
Tip: Always choose high-resolution images (at least 4000px wide) for professional results.
Best Paid Sky Packs
For professionals, investing in a curated sky library saves hours of searching:
- Adobe Creative Cloud Sky Packs: Available directly in Photoshop with diverse categories (blue skies, sunsets, storms).
- Skylum Marketplace Skies — cinematic skies from top photographers, optimized for editing.
- RawExchange Premium Sky Packs — 10,000+ skies, organized by time of day and weather.
These paid packs often come pre-sorted by category, making it faster to find the right fit for your scene.
How to Choose the Right Sky for Realism
- Match light direction: The sun in your sky should align with shadows in your photo.
- Match color temperature: Warm skies for golden hour, cool skies for overcast scenes.
- Match perspective: Wide-angle skies for landscapes, compressed skies for telephoto shots.
When in doubt, choose skies with subtle gradients instead of dramatic patterns, they’re easier to blend.
How to Import Custom Skies into Photoshop
- Go to Edit > Sky Replacement.
- Click the sky thumbnail > gear icon > Import Skies.
- Select JPEG or PNG skies from your library.
- Organize skies into folders (Sunny, Sunset, Stormy) for quick access.
Pro Tips for Using Sky Packs
- Always keep a dedicated Sky Library folder for fast workflows.
- Blend skies with layer masks when Photoshop’s automation falls short.
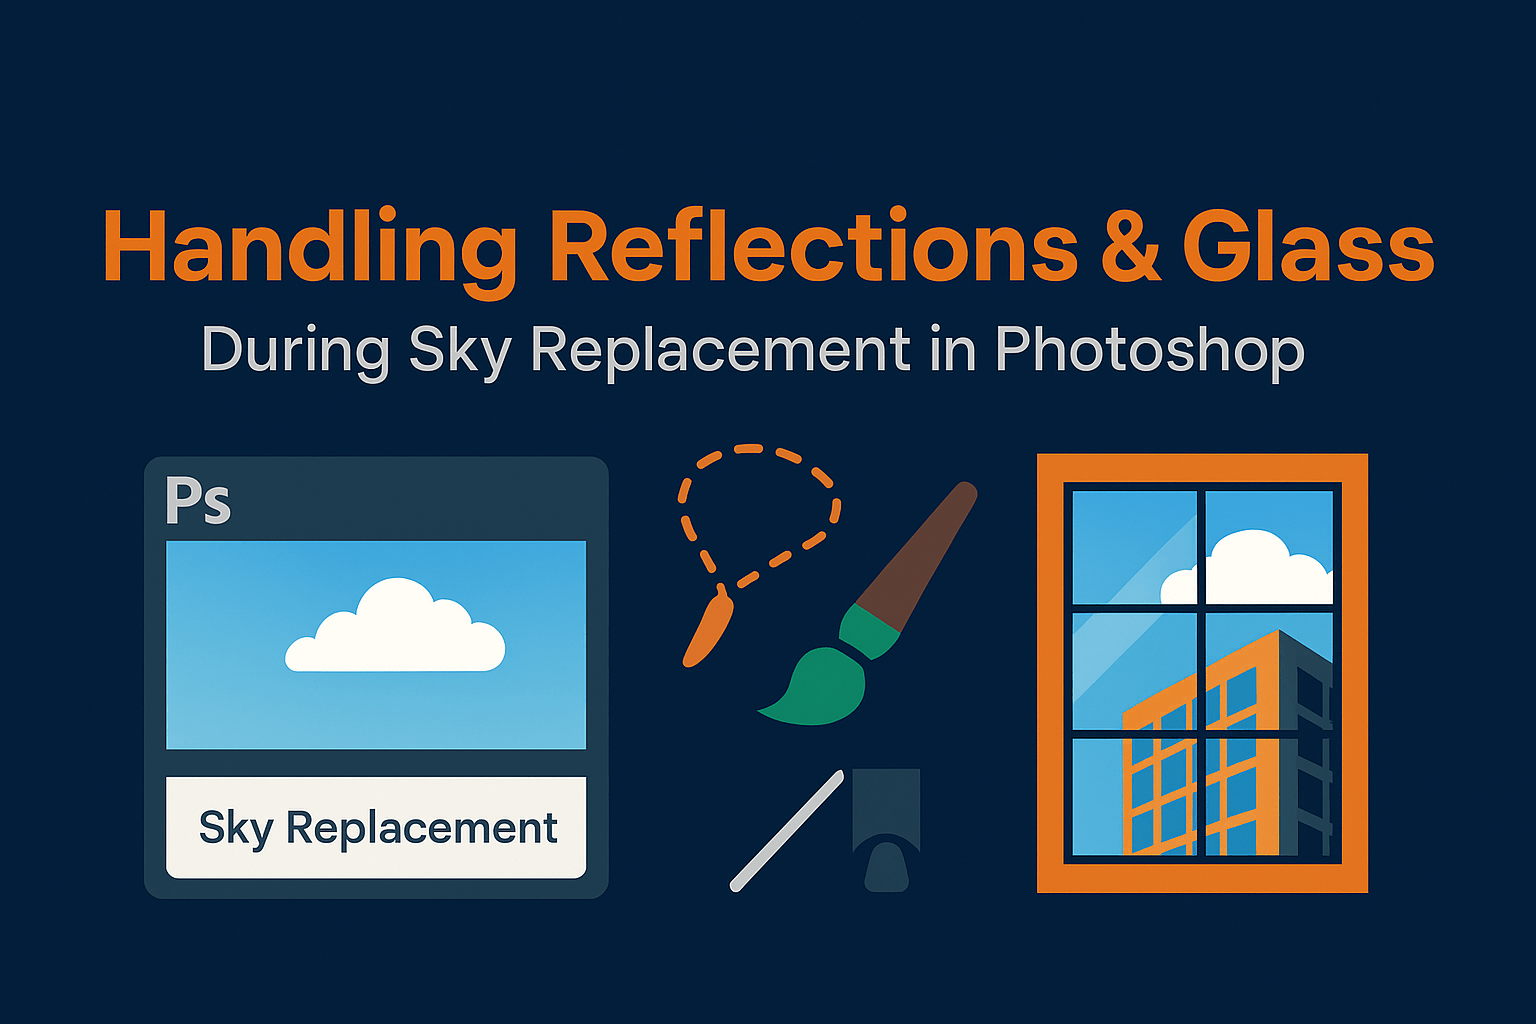
- For reflections, duplicate and flip the sky layer, reduce opacity, and mask into water or glass.
- Don’t overdo it—reduce the opacity of dramatic skies for realism.
Related Reading
The best sky isn’t always the most dramatic, it’s the one that looks like it was always there. Combine high-quality skies with strong masking techniques from our Advanced Layer Masking guide and Sky Replacement tutorial for flawless results.


