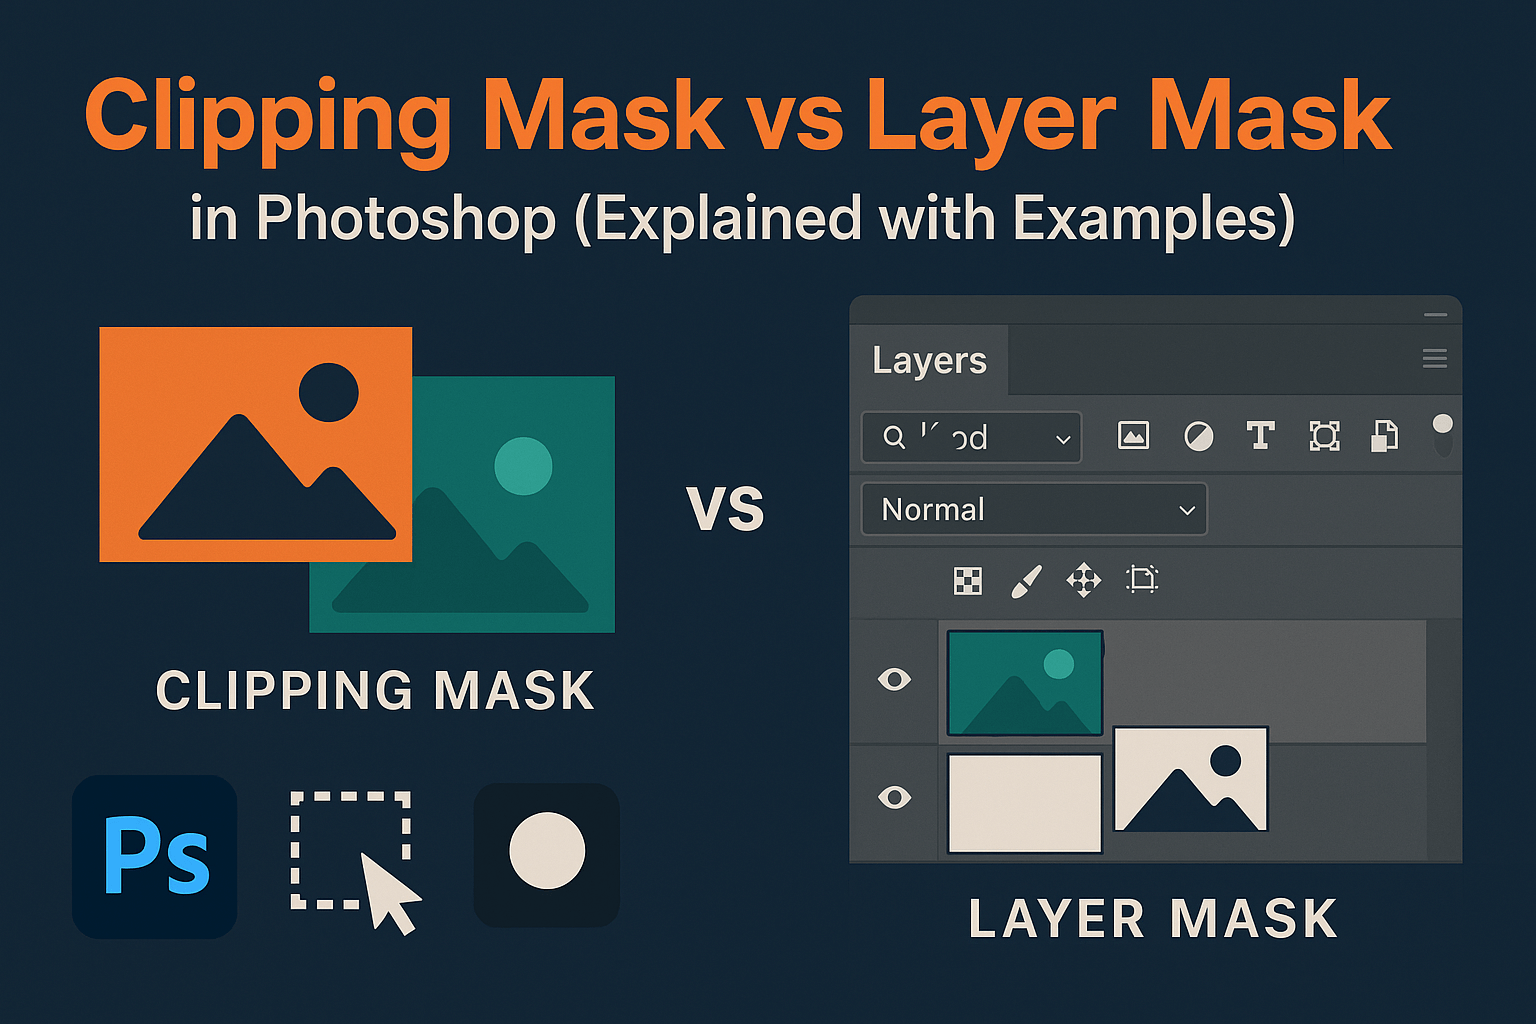
Clipping Mask vs Layer Mask in Photoshop (Explained with Examples)
Both clipping masks and layer masks control visibility in Photoshop but they work differently. This guide breaks down the differences, shows step-by-step examples, and explains when to use each for professional results.
What is a Layer Mask?
A layer mask is a grayscale mask attached to a layer. Black conceals, white reveals, and gray provides partial transparency. This allows you to hide or reveal parts of a layer non-destructively.
Example: If you want to remove a background behind a subject, you can paint black on the layer mask to hide it, while keeping pixels intact in case you need to restore them later.
Learn more in our deep dive: Advanced Layer Masking.
What is a Clipping Mask?
A clipping mask uses the transparency of one layer (the base) to control the visibility of another (the clipped layer). The clipped layer only shows where the base layer has visible pixels.
Example: Place a texture above a text layer, then create a clipping mask. The texture will only appear inside the text, leaving the rest invisible.
Key Differences Between Clipping and Layer Masks
| How it works | Uses black/white/gray painting to hide/reveal areas | Uses transparency of the base layer to show/hide clipped layer |
| Non-destructive? | Yes | Yes |
| Best for | Selective visibility, background removal, composites | Applying textures, adjustments, or effects to specific shapes |
| Number allowed | One per layer (plus vector mask) | Multiple layers can be clipped to one base |
Practical Examples
Example 1: Hiding Background with a Layer Mask
- Select subject with Quick Selection.
- Click the mask icon—background is hidden non-destructively.
- Paint on mask to refine edges.
Example 2: Applying Texture with a Clipping Mask
- Type text on a new layer.
- Place a texture above it.
- Right-click texture > Create Clipping Mask. The texture fills only the text.
When to Use Each
- Layer Masks: Background removal, composites, complex selections, localized adjustments.
- Clipping Masks: Text effects, applying adjustments to one layer only, filling shapes with images.
Pro tip: For precision, you can combine both—mask the base layer, then apply a clipping mask to refine the effect.
Advanced Uses and Combinations
Professional workflows often combine both masks:
- Apply a layer mask to a subject for clean cutout, then use a clipping mask to add targeted color grading only to that subject.
- Create text filled with an image using clipping masks, then refine edges with a layer mask for polish.
For even more flexibility, see our guide on Smart Objects for Masking.
Common Mistakes & Troubleshooting
- Issue: Clipping mask doesn’t show → Fix: Ensure the base layer has visible pixels.
- Issue: Accidentally erased instead of masked → Fix: Use masks for non-destructive edits.
- Issue: Can’t add multiple masks → Fix: Convert to Smart Object for stacked masking.
Related Reading
Clipping and layer masks are building blocks of Photoshop mastery. Once you understand both, explore our advanced guides on layer masking and sky replacement to push your editing skills further.


