Non-Destructive Dodge & Burn in Photoshop (Step-by-Step)
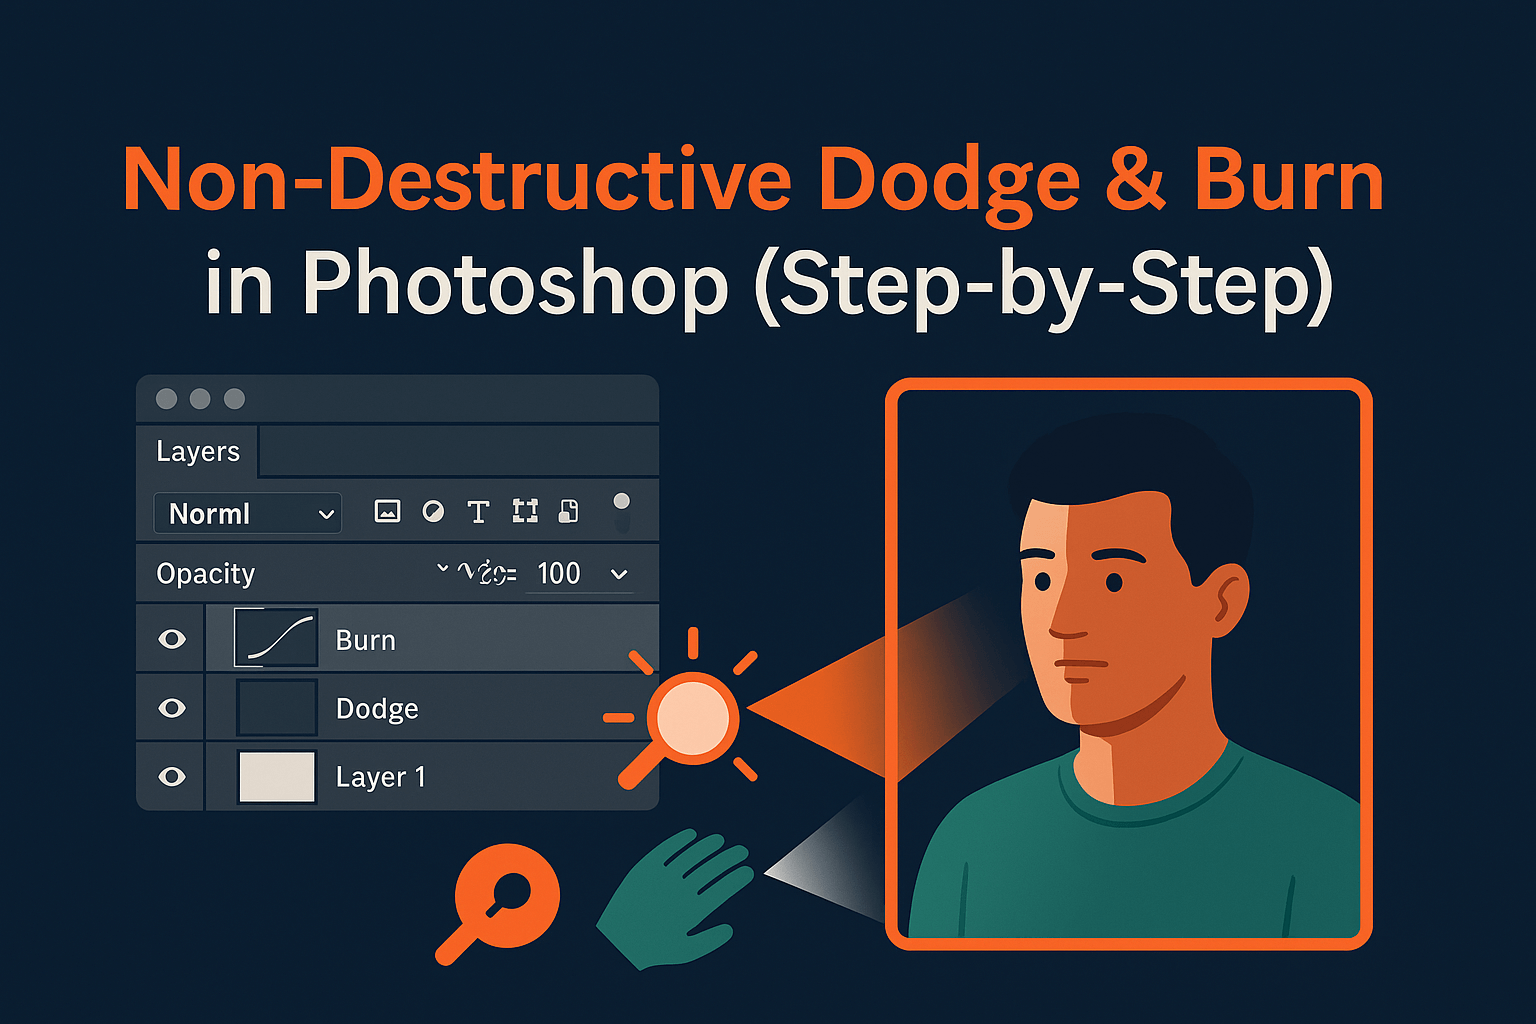
The classic dodge and burn technique lets you lighten (dodge) or darken (burn) parts of an image for depth and balance. But doing it directly on pixels destroys flexibility. In this guide, you’ll learn non-destructive dodge and burn workflows using adjustment layers, masks, and blending modes for professional results.
What is Dodge & Burn?
Dodge = lighten areas to draw attention.
Burn = darken areas to add depth or reduce distractions.
Originally a darkroom technique, it’s now a digital tool for enhancing portraits, landscapes, and composites.
Why Non-Destructive Methods Matter
- Flexibility: Adjust edits anytime without degrading original pixels.
- Control: Use masks and blending modes for targeted refinements.
- Professional workflow: Industry-standard for retouchers and composite artists.
Adobe recommends non-destructive editing in their official Photoshop workflow guide.
Method 1: Dodge & Burn with Curves
- Create a Curves adjustment layer.
- Drag the curve up (for dodging) or down (for burning).
- Invert the mask (Ctrl/Cmd + I).
- Paint with a soft white brush on the mask to reveal the effect only where needed.
Pro tip: Lower brush opacity (5–10%) for subtle, buildable results.
Method 2: Dodge & Burn with 50% Gray Layer
- Create a new layer filled with 50% gray (Edit > Fill > 50% Gray).
- Set blending mode to Overlay or Soft Light.
- Paint with a soft white brush to dodge (lighten) or black brush to burn (darken).
This method is fast, simple, and keeps all edits on a separate layer.
Method 3: Dodge & Burn with Adjustment Layers
- Add a Brightness/Contrast adjustment layer.
- Clip it to the foreground or subject.
- Mask and paint to restrict the effect to highlights or shadows.
This is excellent for localized corrections in sky replacement or product photography.
Advanced Techniques
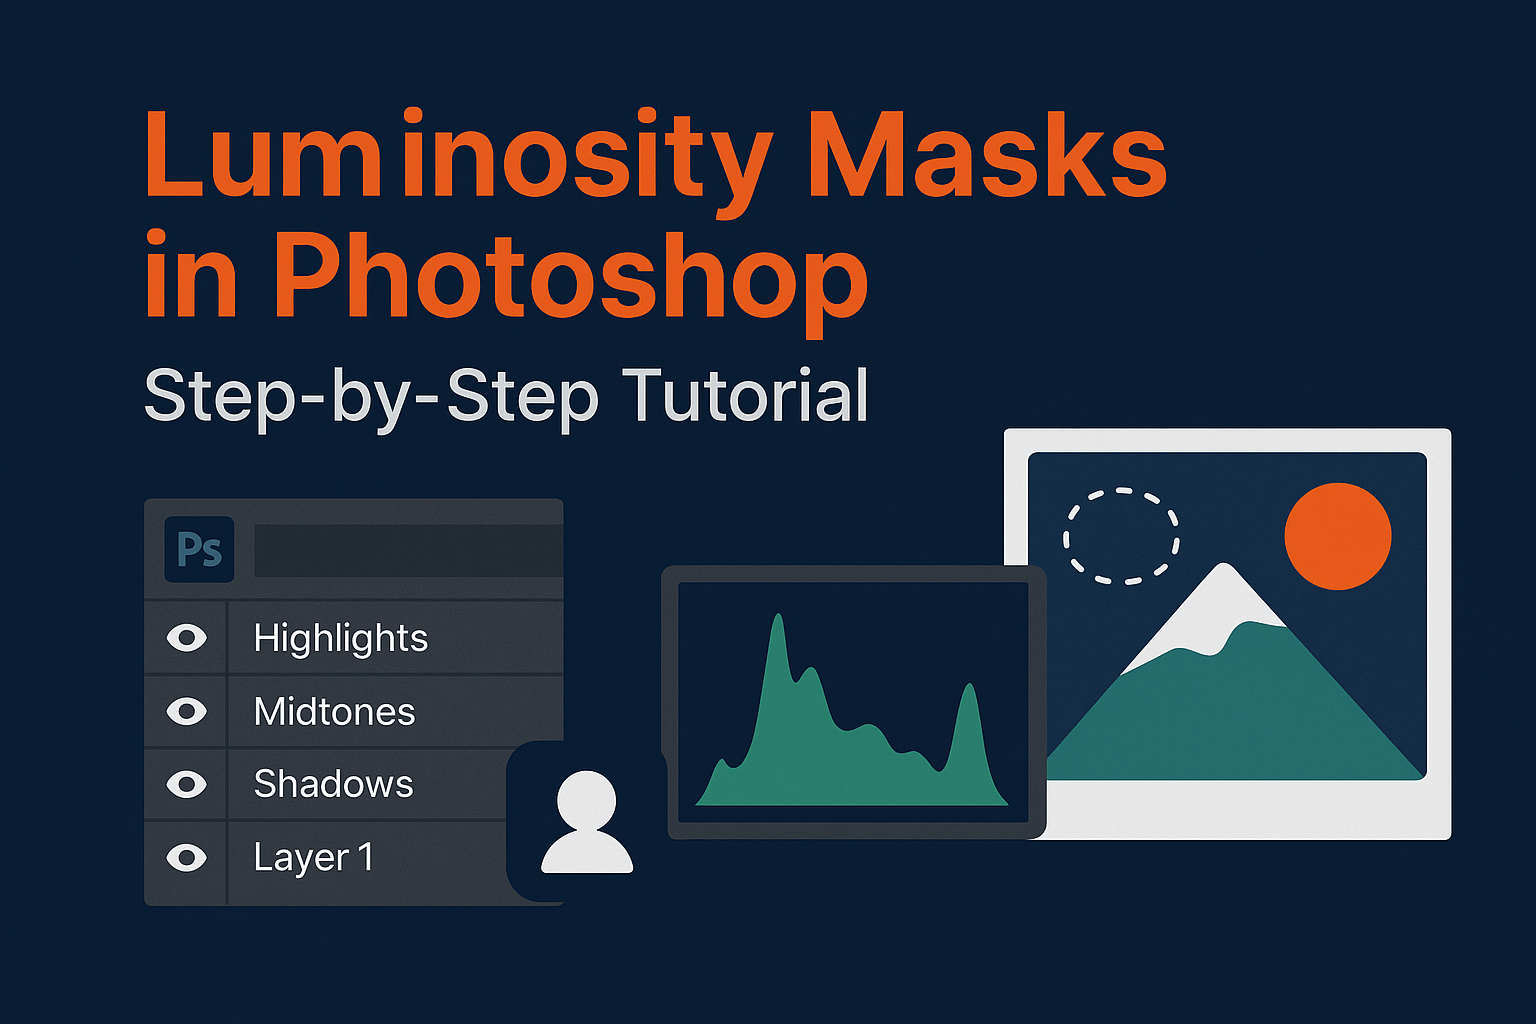
- Luminosity Masks: Combine dodge & burn with luminosity masks for precise tonal targeting.
- Blend If: Apply adjustments only to highlights or shadows without manual masking.
- Smart Objects: Apply dodge & burn to Smart Objects for scalable, editable workflows.
Applications in Real Editing
1. Portrait Retouching
Sculpt facial features, enhance eyes, and even skin tones.
2. Landscape Photography
Darken skies, lighten foregrounds, and guide viewer focus.
3. Real Estate Photos
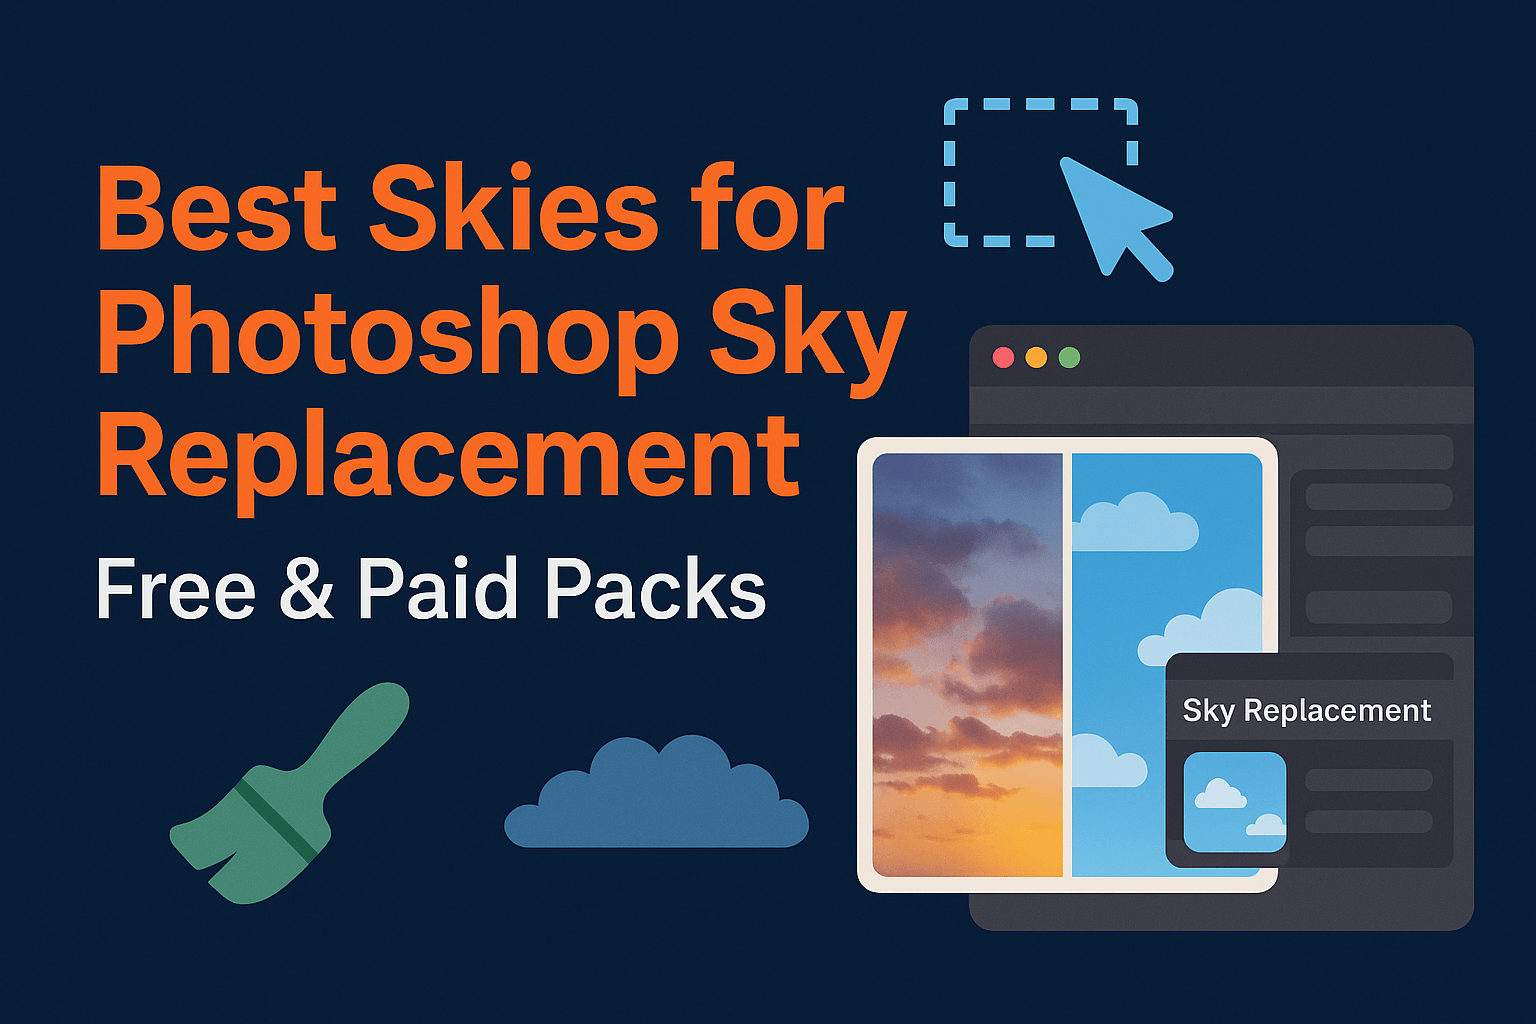
Enhance window light, balance shadows, and complement real estate sky replacements.
Common Issues & Fixes
- Edits look patchy? Use a lower brush opacity and build gradually.
- Edges look obvious? Switch to a larger, softer brush.
- Too strong? Reduce layer opacity to blend naturally.
Related Reading
Mastering non-destructive dodge & burn is one of the fastest ways to elevate your Photoshop work. Pair it with luminosity masks, layer masking, and sky replacement for professional-grade composites and retouching.


