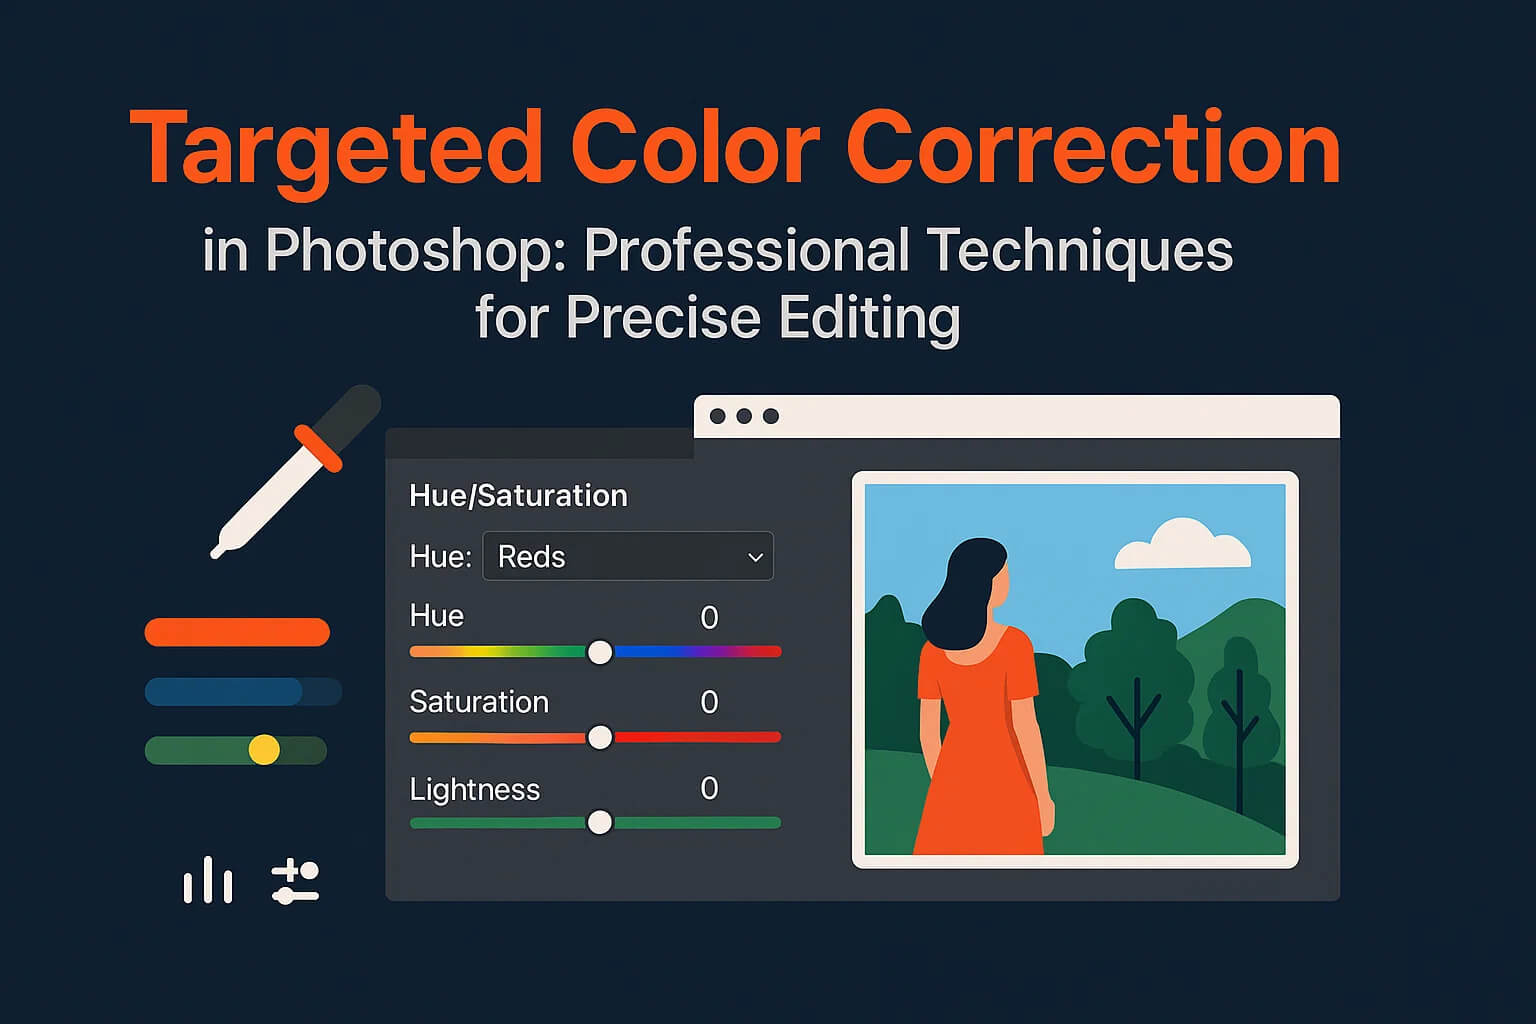
Targeted Color Correction in Photoshop: Professional Techniques for Precise Editing
Learn selective, non-destructive workflows that fix specific hues and regions without compromising the rest of your image.
Introduction – Why Targeted Color Correction Matters
In Photoshop, not all color adjustments should affect the entire image. Sometimes you need to adjust only one specific hue, balance skin tones, or fix a distracting color cast in the background without ruining the subject. This is where targeted color correction becomes a game-changer.
Unlike global corrections, targeted edits let professionals isolate specific hues, tones, or regions for precise control. Whether it’s reviving muted skies, correcting skin tones, or matching brand colors in product shots, targeted techniques keep edits natural and consistent while staying non-destructive.
Core Tools for Targeted Adjustments in Photoshop
- Hue/Saturation — Select and shift specific color ranges.
- Selective Color — CMYK-style fine control ideal for print & product color matching.
- Curves + Targeted Adjustment Tool — Pinpoint tonal areas and adjust color balance.
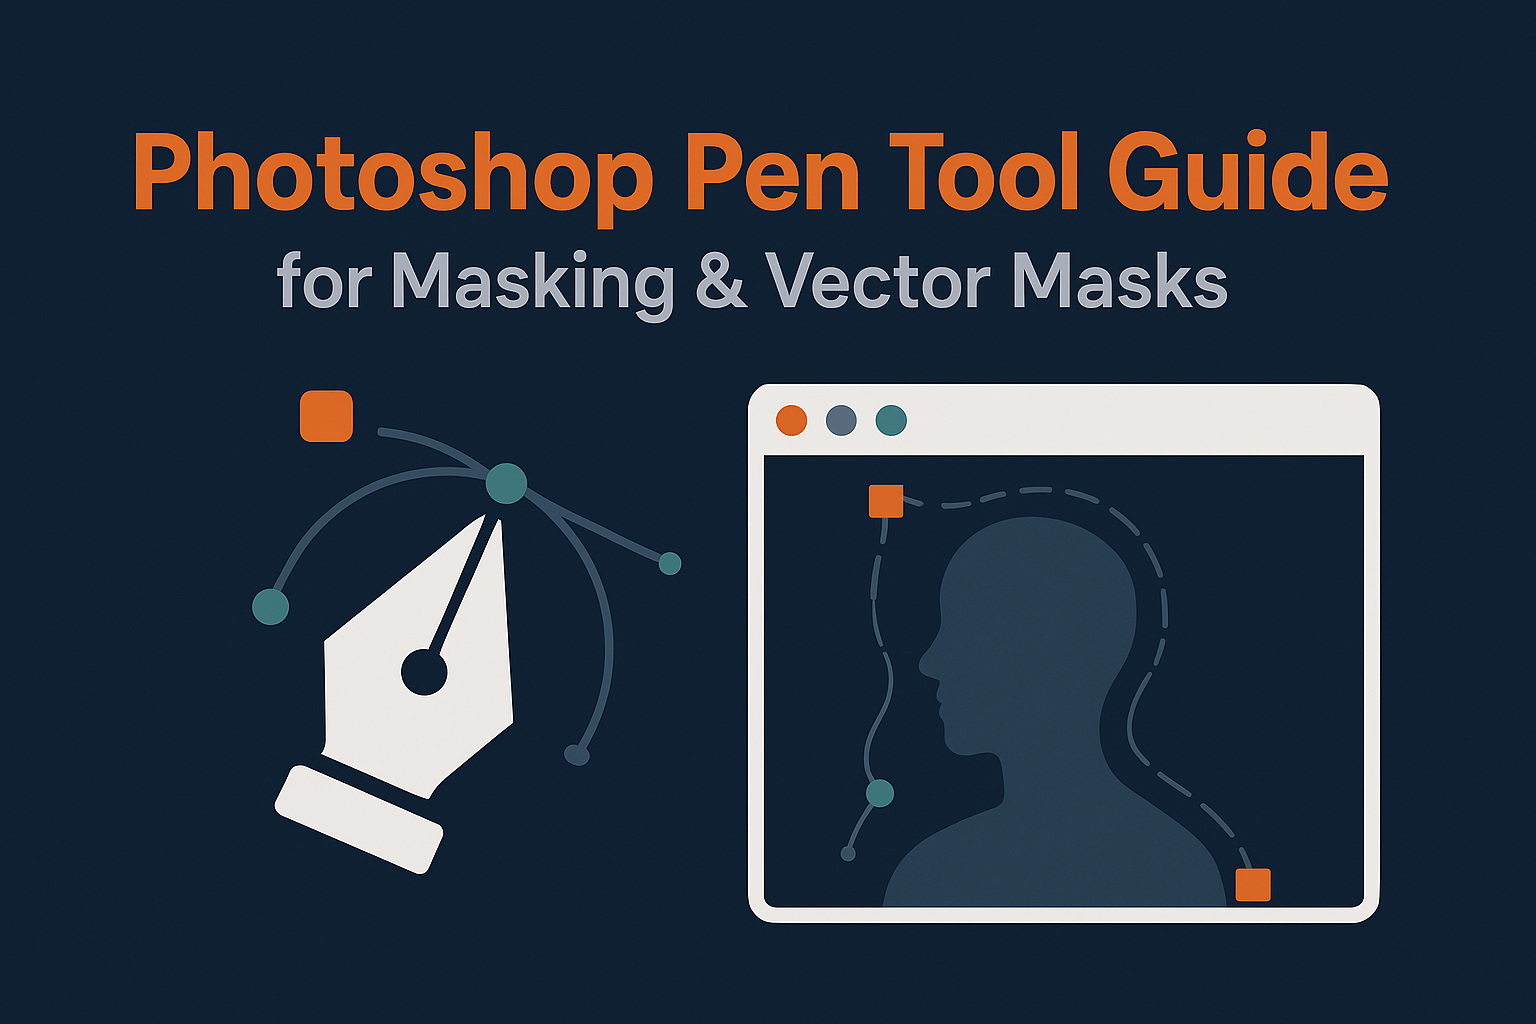
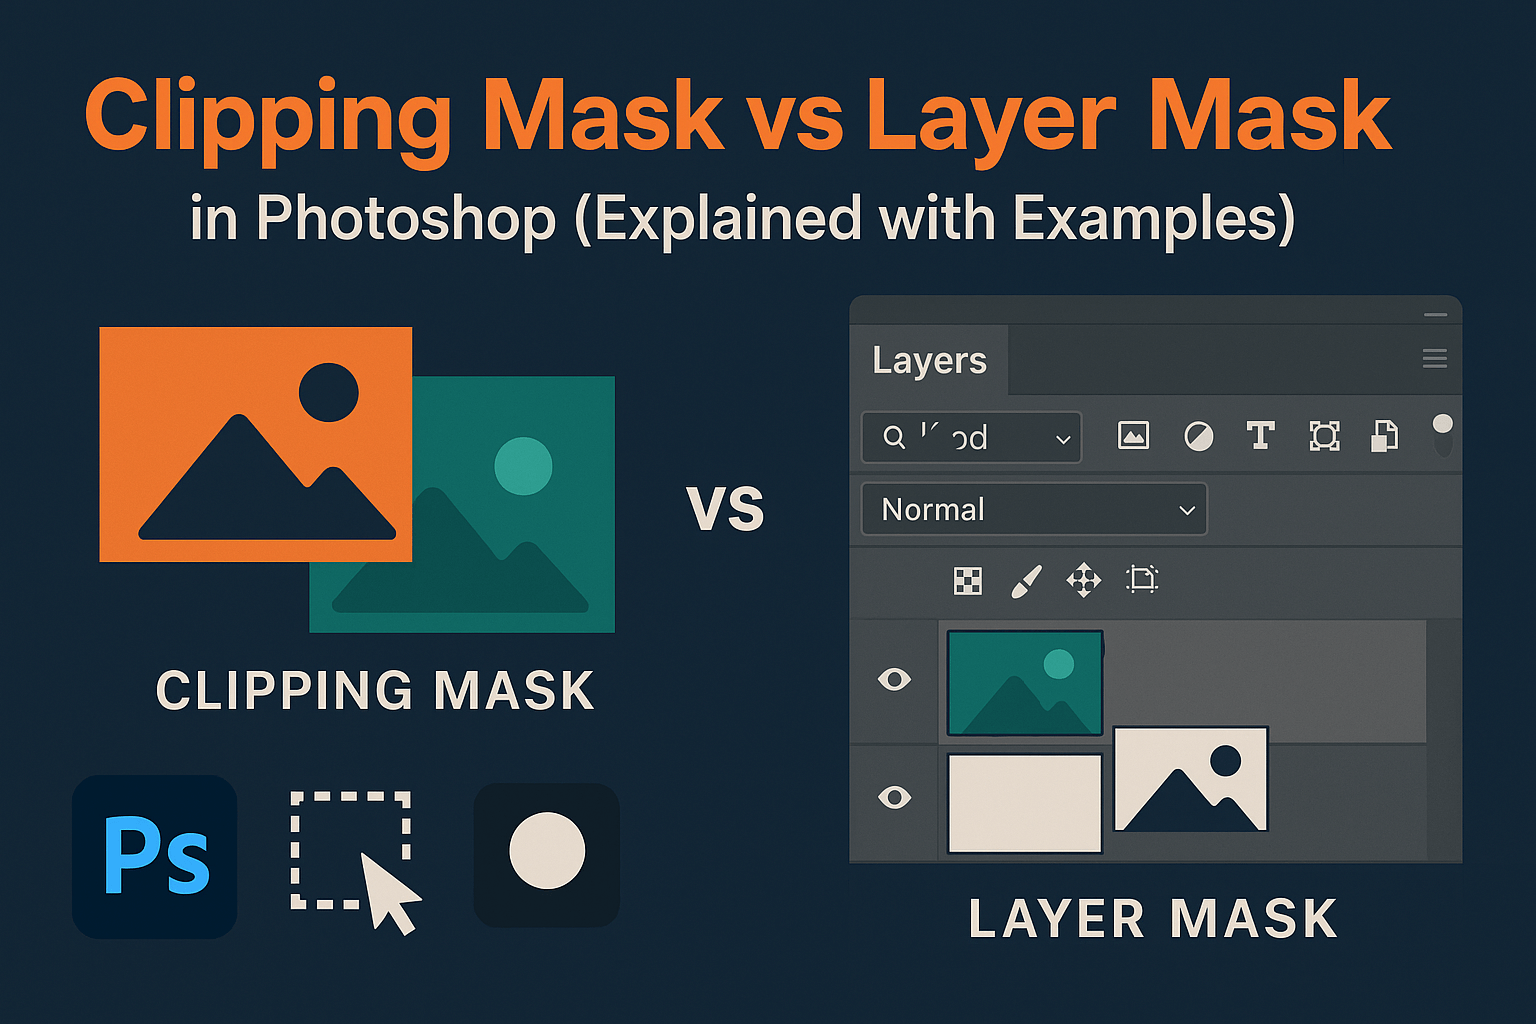
- Layer Masks — Restrict any adjustment to a precise region for non-destructive edits.
For the masking techniques that make all of this precise, see: masking specific tones with precision.
Using the Color Range Tool for Selections
- Choose Select > Color Range.
- Click with the eyedropper on the hue to isolate; add/remap with the eyedropper plus/minus.
- Refine Fuzziness until the preview isolates the target well.
- Apply the selection to a new Adjustment Layer to generate a precise mask.
Example: Selectively brighten only the blue sky in a landscape without affecting buildings or foliage.
Targeted Hue/Saturation Adjustments
Use the dropdown (default: Master) to edit only a specific range—Reds, Yellows, Greens, Cyans, Blues, or Magentas. The on-image adjustment tool (hand icon) lets you click a color in the photo and drag to tune it instantly.
- Reduce oversaturated reds in skin tones.
- Calm distracting background greens in outdoor portraits.
- Enhance sky blues without touching midtones or skin.
Selective Color Adjustments for Print Precision
Selective Color offers CMYK-style control ideal for product photography and brand color accuracy.
- In Reds, reduce Cyan to warm up; add Yellow for vibrancy; add/subtract Black for depth.
- Use Neutrals/Whites/Blacks channels to tune global balance without color shifts.
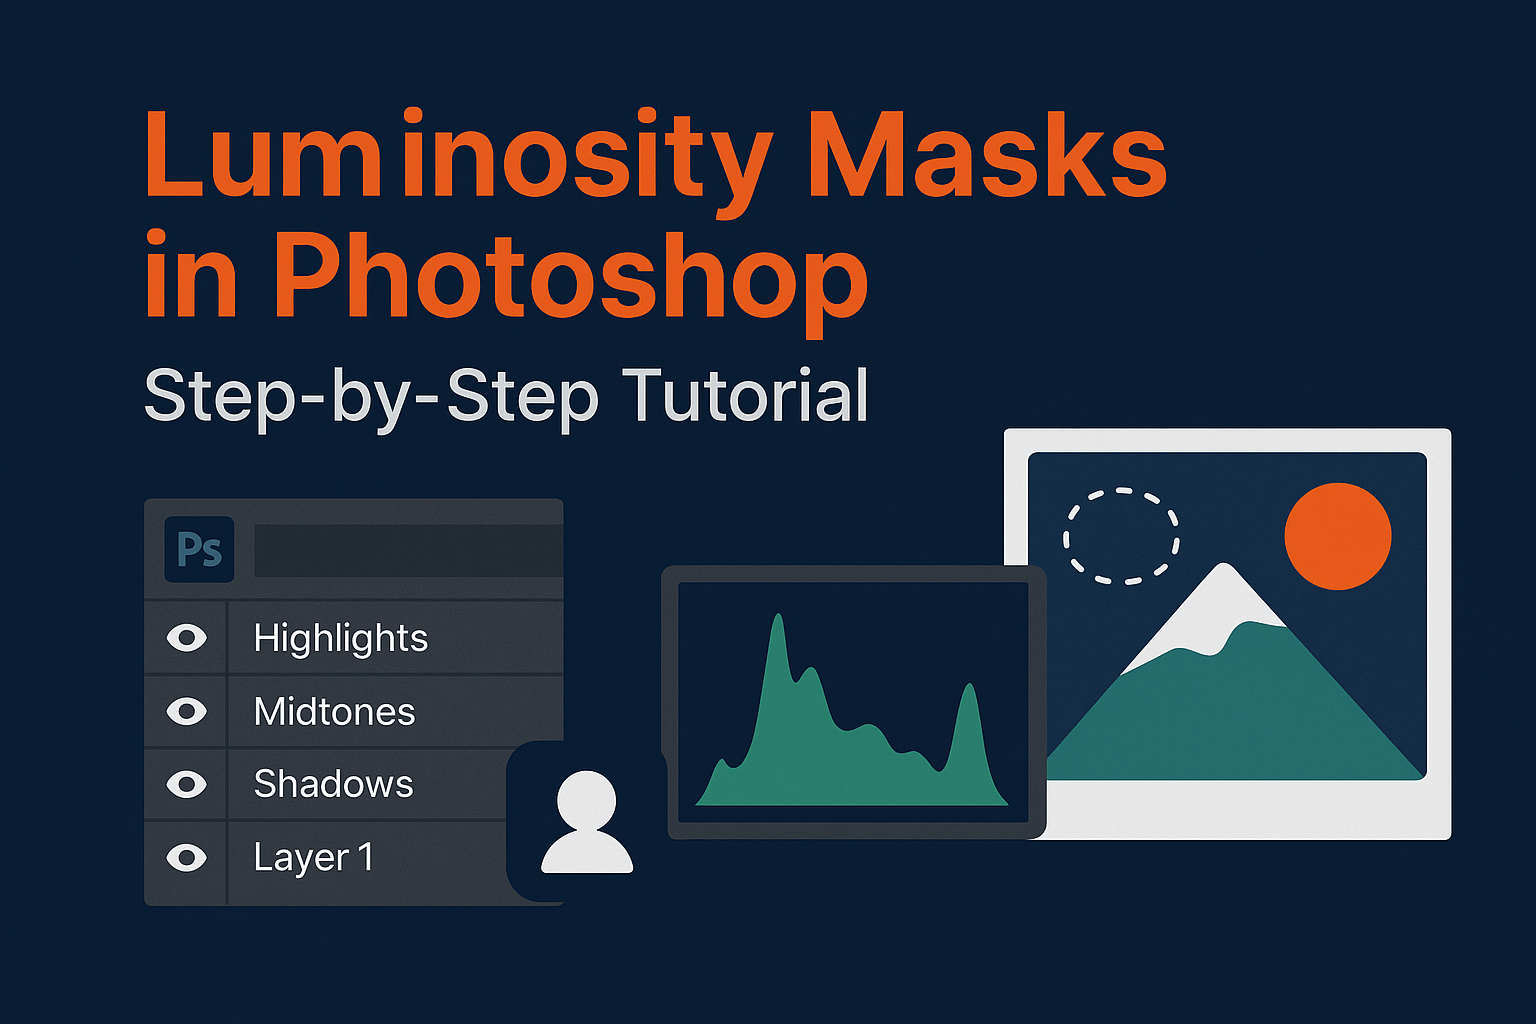
For tone-aware selections that pair perfectly with color work, see using luminosity masks for tonal color control.
Curves & the Targeted Adjustment Tool
Add a Curves adjustment, switch to Red/Green/Blue channels, and use the Targeted Adjustment Tool to click directly on problem areas (e.g., green shadows). Drag up/down to add a point and correct only within that tonal range.
Tip: Use a second Curves layer for contrast refinement while masking it to the same region.
LAB Color for High-End Corrections
Switching to LAB Color lets you adjust color (A/B channels) without affecting luminosity (L channel). This is exceptionally powerful for skin tone work and subtle palette shifts.
- L = lightness only
- A = green ↔ magenta
- B = blue ↔ yellow
For seamless sky/foreground blending after color work, see blend skies and foregrounds seamlessly.
Combining Masks + Channels for Surgical Control
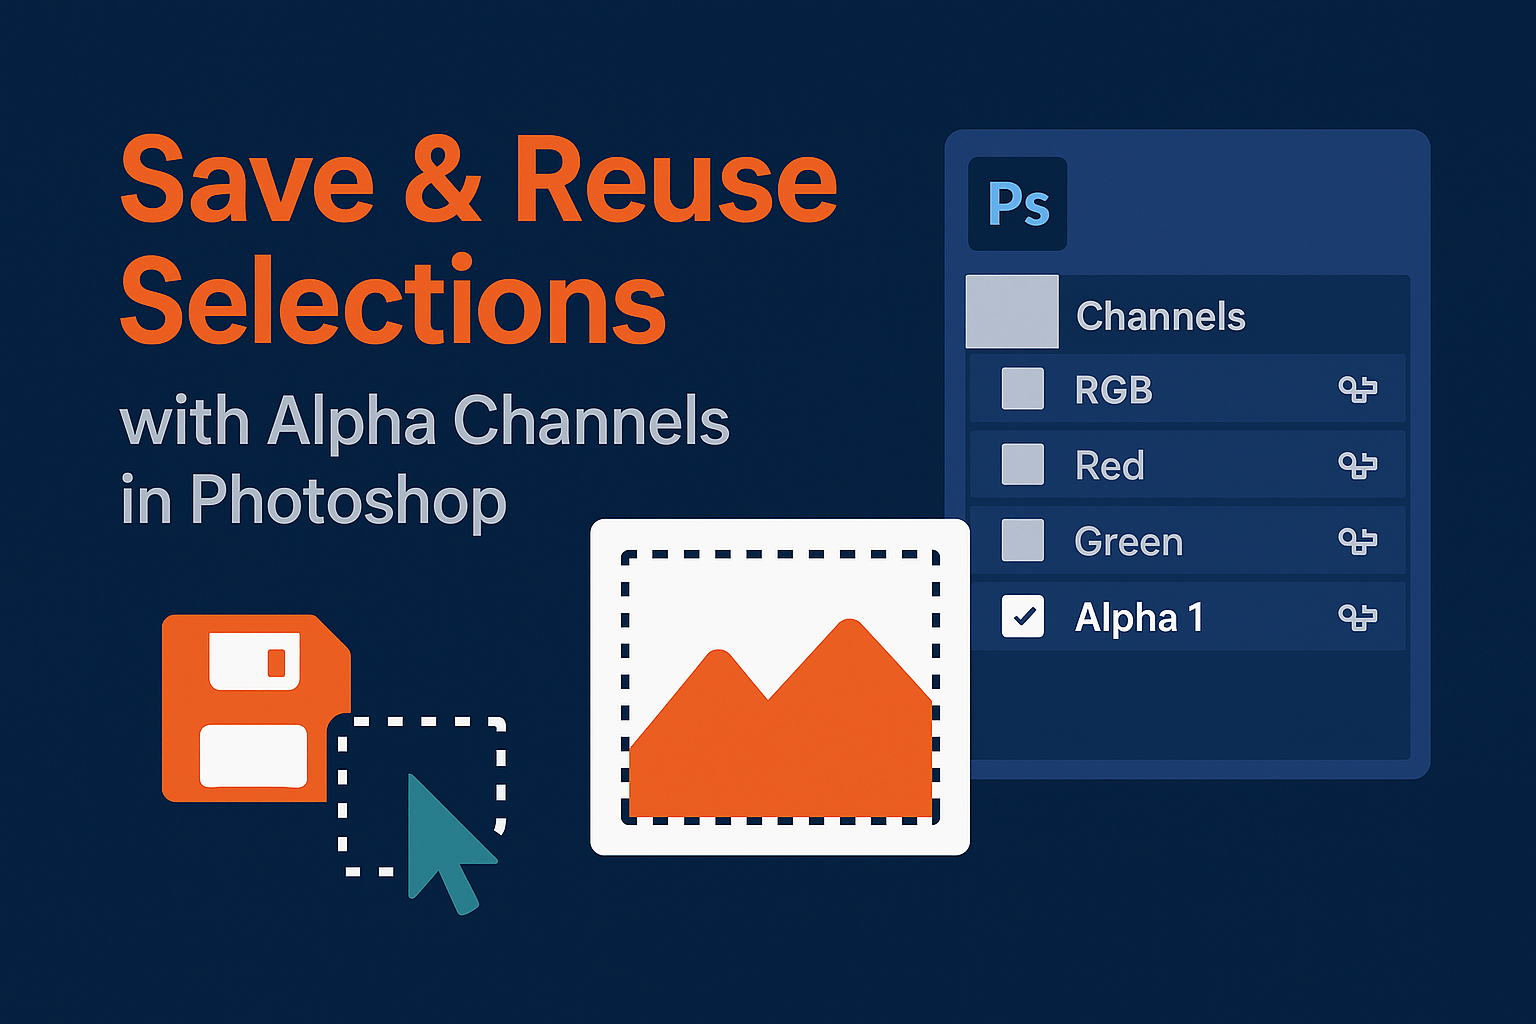
- Duplicate the most contrasty channel in the Channels panel.
- Boost separation with Levels/Curves on the channel copy.
- Load as a selection and apply it to your adjustment layer’s mask.
This approach excels with glass, smoke, fine textures, and mixed lighting.
Common Mistakes & How to Avoid Them
- Applying global corrections to local issues.
- Pushing saturation until detail clips.
- Ignoring skin undertones and natural variance.
- Skipping masks—letting edits bleed into unwanted areas.
Pro Tips & Workflow Shortcuts
- Save Adjustment Presets for recurring fixes (e.g., skin tone neutralize).
- Combine Blend If with masks for tighter isolation.
- Work with non-destructive techniques and Smart Objects whenever possible.


