Realistic Photo Compositing in Photoshop (Step-by-Step Workflow)
Photo compositing allows you to merge multiple images into a single, seamless composition. But without the right workflow, composites often look fake. In this tutorial, you’ll learn a realistic photo compositing workflow in Photoshop covering selection, masking, color matching, and lighting adjustments.
What is Photo Compositing?
Photo compositing is the process of combining elements from different photos into one unified image. This can range from simple sky replacements to complex fantasy scenes with multiple subjects.
The challenge is realism ensuring light, perspective, and color all align.
Step 1: Planning Your Composite
- Source images: Use high-resolution photos with similar perspectives.
- Lighting direction: Ensure subjects and background share consistent light angles.
- Storytelling: Decide on the mood and narrative before editing.
Step 2: Cutting Out Subjects
Start by extracting your subject from its original background using:
- Pen Tool paths for precise cutouts.
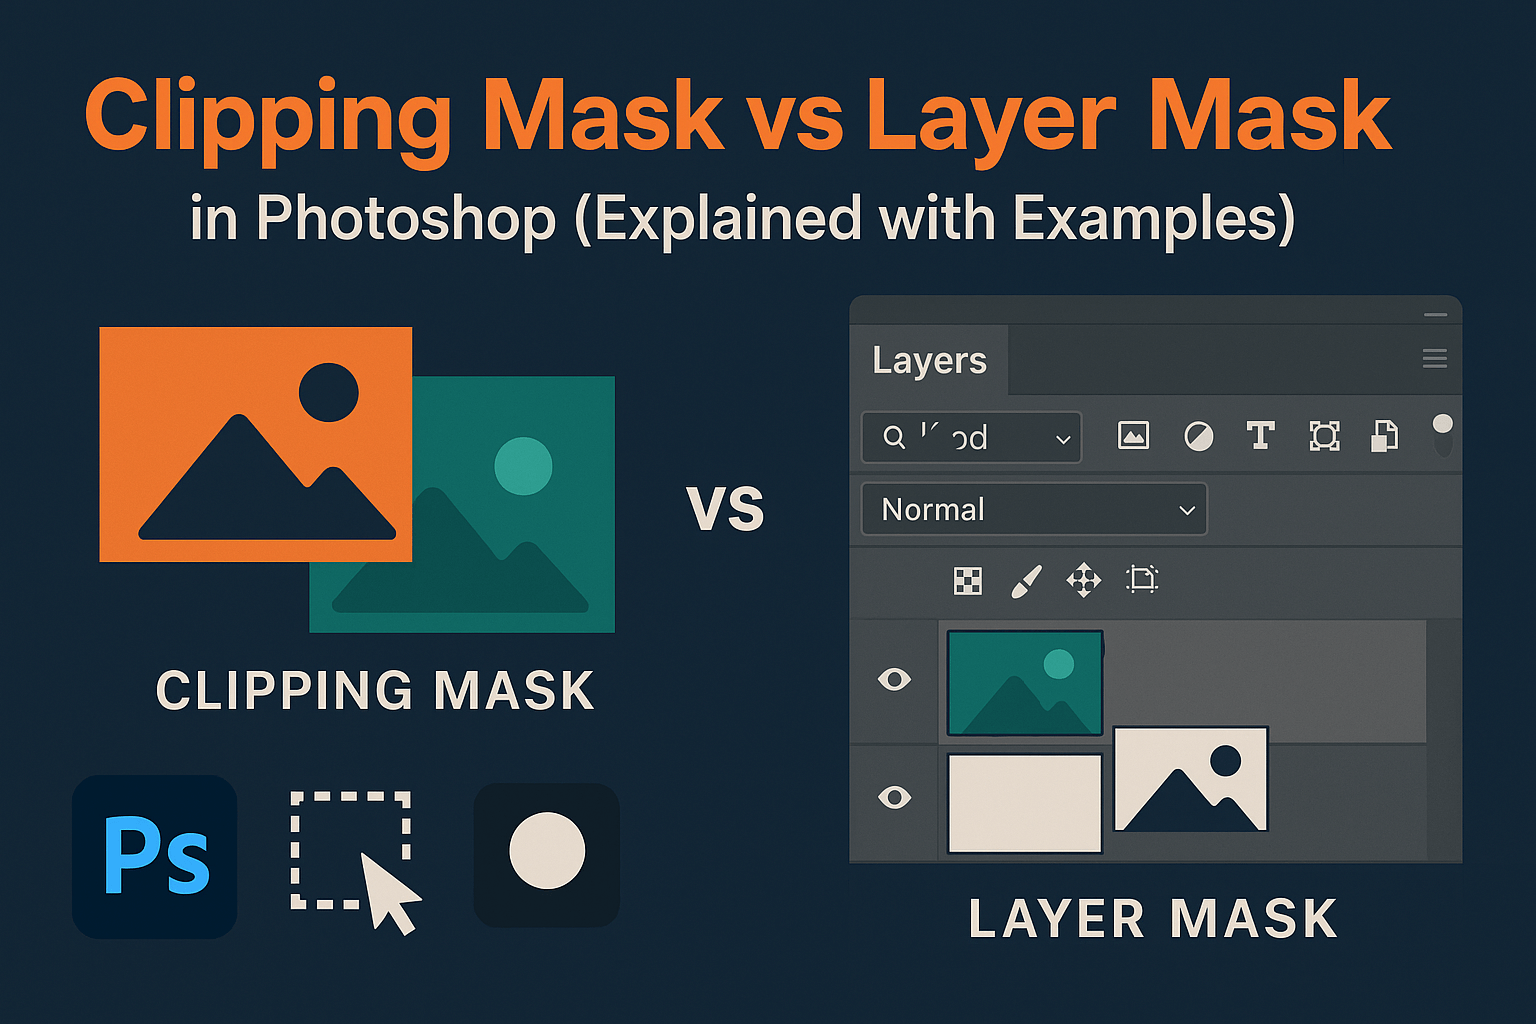
- Layer masks for complex edges like hair or trees.
- Alpha channels for reusable selections.
Step 3: Placing Elements Together
Drag subjects into the background document and scale them appropriately. Use Edit > Transform to adjust perspective so subjects align naturally with the scene.
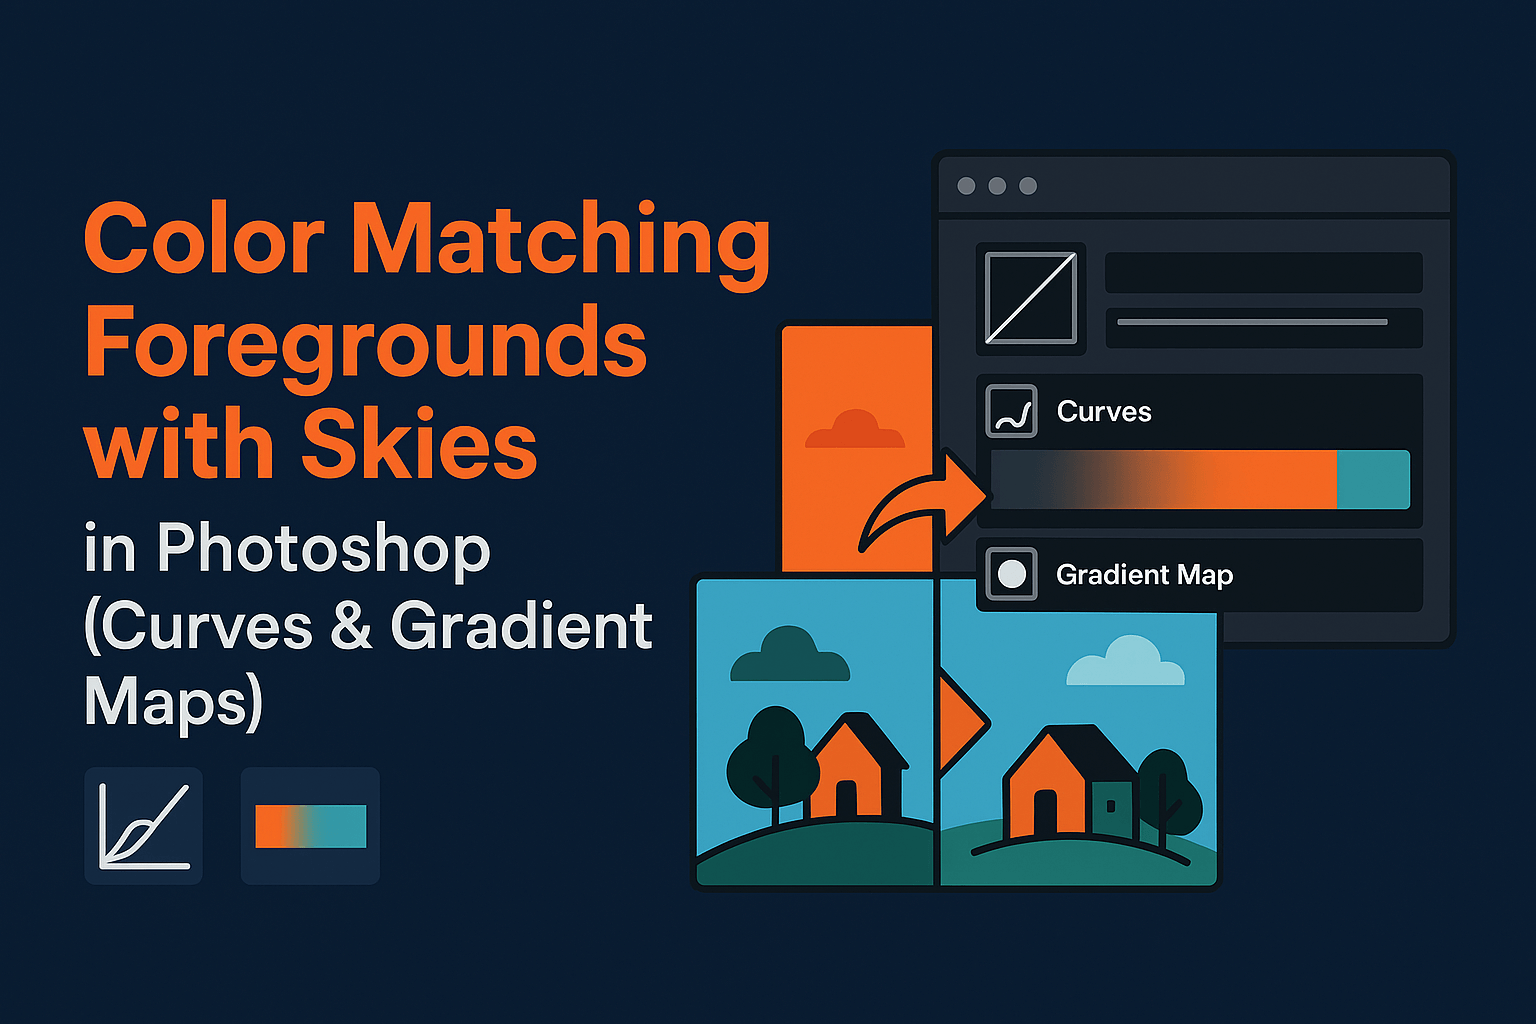
Step 4: Color Matching Foreground & Background
Misaligned colors are the #1 giveaway of a fake composite. Fix this by:
- Using Curves adjustment layers clipped to subjects.
- Applying Gradient Maps for global tone matching.
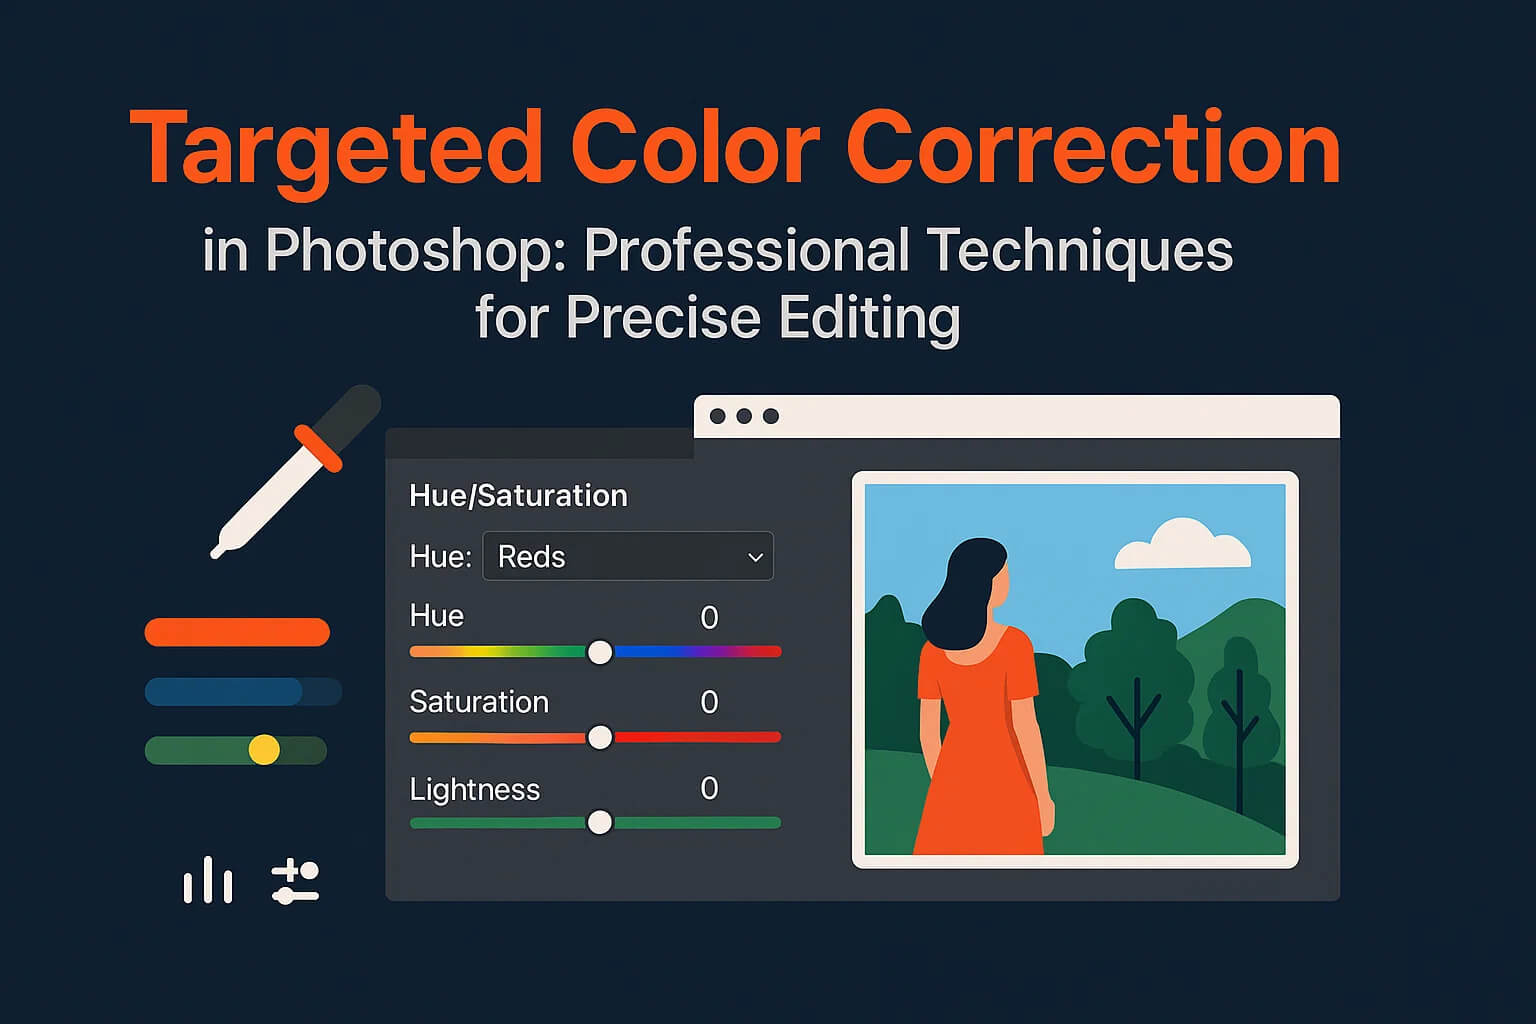
- Refining with luminosity masks for targeted control.
Reference: Adobe’s color correction workflow.
Step 5: Adjusting Light & Shadows
Light direction and intensity must match across all elements. Create realistic shadows by:
- Duplicate subject layer > Fill with black > Transform > Skew to ground plane.
- Blur shadow for softness (Gaussian Blur).
- Reduce opacity for realism.
For subtle lighting corrections, use non-destructive dodge & burn layers.
Step 6: Refining Edges & Blends
To avoid “cut-out” looks:
- Feather edges of masks slightly.
- Use the Select & Mask workspace for hair or foliage.
- Add subtle noise/grain to unify textures.
Step 7: Final Touches
Unify the composite with global adjustments:
- Apply a Color Lookup (LUT) for consistent mood.
- Add vignetting to draw focus.
- Sharpen the entire composite for print or web output.
Pro Tips for Realism
- Always flip your canvas horizontally to spot mistakes.
- Work zoomed out often composites must look real at first glance.
- Keep layers organized in groups (Subjects, Background, Adjustments).
- Save reusable selections as alpha channels.
Related Reading
Photo compositing is where Photoshop skills truly shine. By combining advanced masks, color matching, and non-destructive dodge & burn, you can build seamless composites that look like they were shot in a single frame.


