Real Estate Sky Replacement in Photoshop (Pro Workflow)
Cloudy skies can make real estate listings look dull and uninviting. With Photoshop’s Sky Replacement feature and a few pro masking techniques, you can transform property photos into vibrant, market-ready images. Here’s a complete workflow for real estate sky replacement that realtors and photo editors can rely on.
Why Sky Replacement Matters in Real Estate Photography
First impressions sell homes. A dull, grey sky makes listings look flat even if the property itself is beautiful. Replacing skies with bright, inviting ones increases click-through rates on listings, improves buyer perception, and can even speed up sales.
According to Photography for Real Estate (PFRE), professional photo editing including sky replacement has become an industry standard for competitive real estate marketing.
Choosing the Right Sky for Property Photos
- Time of Day: Match the lighting (don’t use a sunset sky for a noon photo).
- Weather Conditions: Subtle blue skies work better than overly dramatic ones for real estate.
- Perspective: Wide-angle property shots need skies that align with the camera angle.
Explore our resource: Best Skies for Photoshop Sky Replacement for free and paid options.
Step-by-Step Workflow
Step 1: Open Sky Replacement Tool
- Go to Edit > Sky Replacement.
- Choose from Photoshop’s built-in sky library or import your own.
Step 2: Adjust Sky Position & Scale
Drag the sky to match perspective. Scale it so that the horizon aligns naturally with the property’s background.
Step 3: Refine Foreground Mask
Photoshop auto-masks the foreground, but refine edges with advanced masking techniques to fix halos around trees or rooftops.
Step 4: Match Brightness & Color
Use Sky Replacement’s built-in sliders to adjust brightness and color temperature. Fine-tune with Curves for precise results.
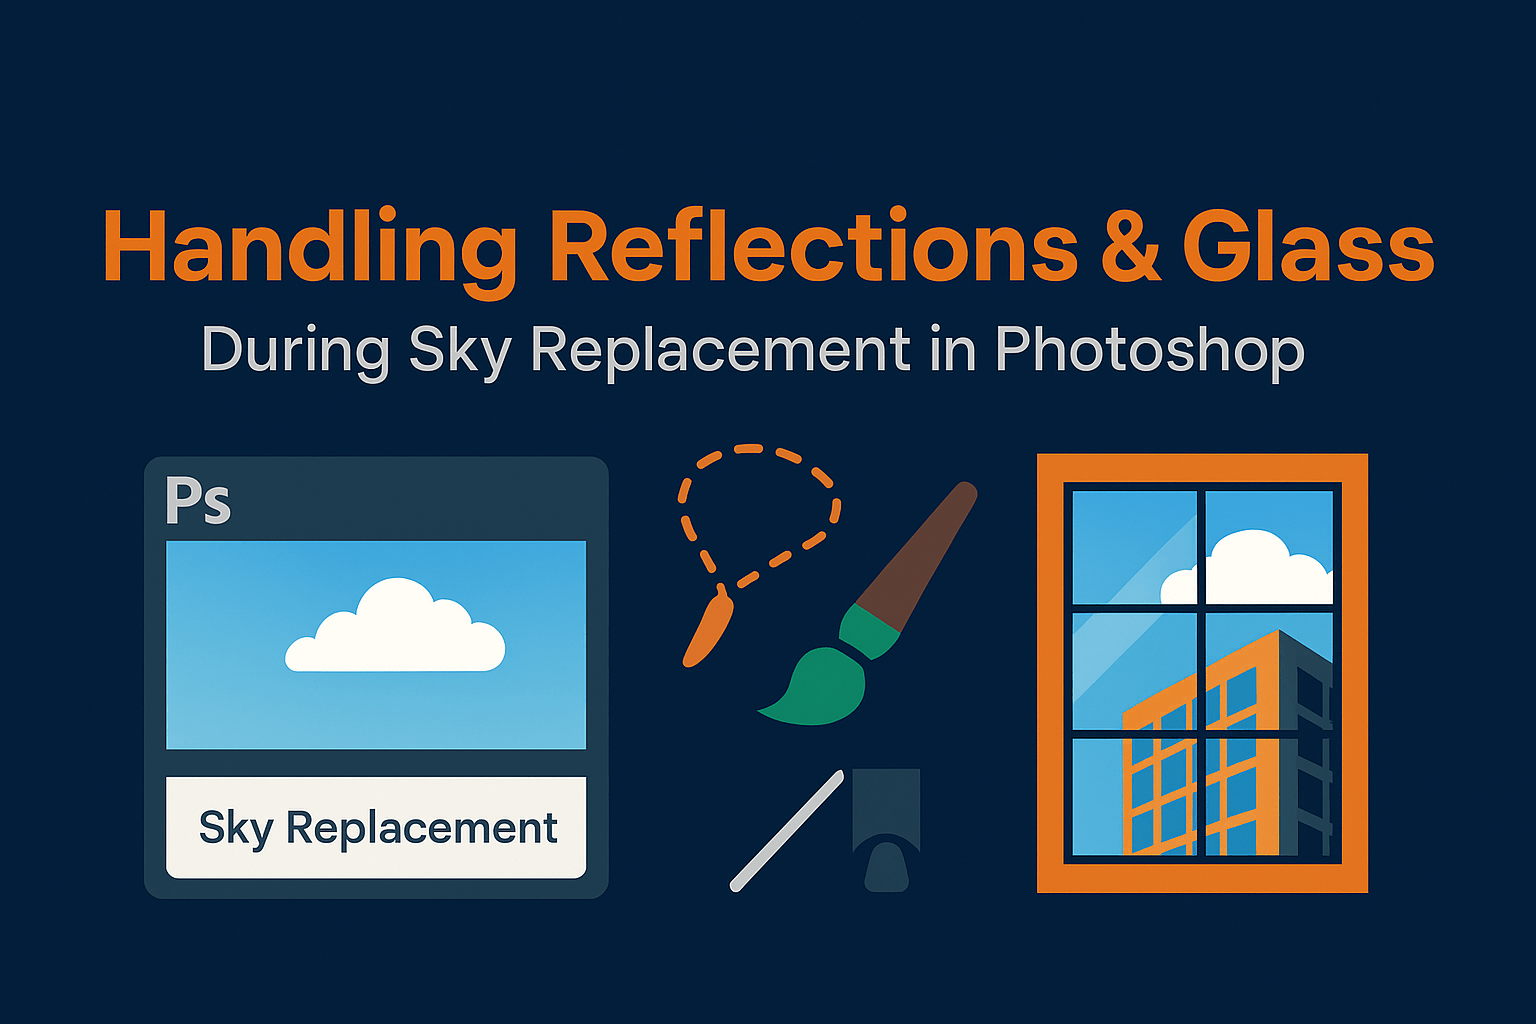
Dealing with Reflections & Windows
Real estate photos often feature reflective windows. To ensure realism:
- Duplicate the sky layer, flip vertically, and mask into windows.
- Lower opacity to 20–30% for subtle reflections.
- Add slight blur to mimic glass imperfections.
See our full tutorial: Handling Reflections & Glass During Sky Replacement.
Color Matching Foregrounds with New Skies
After replacing skies, the property foreground may look mismatched. Balance tones by:
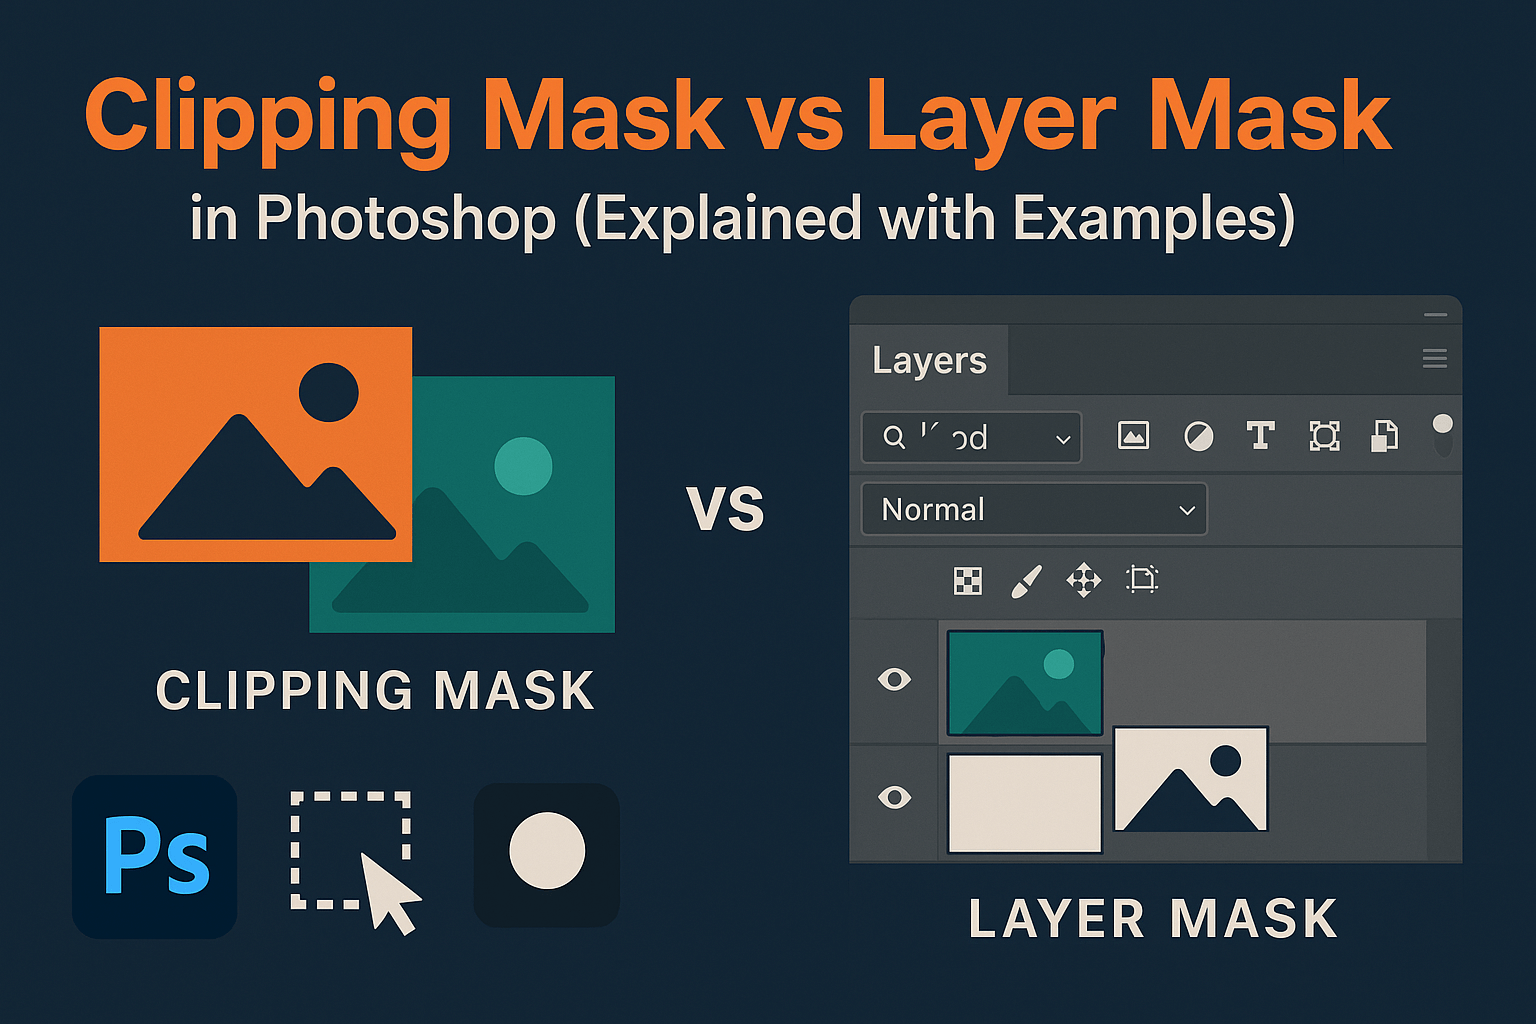
- Adding a Curves adjustment layer clipped to the foreground.
- Using Gradient Maps for global mood matching.
- Applying luminosity masks for targeted adjustments.
Reference: Adobe’s official masking and compositing guide.
Batch Processing Multiple Property Images
Real estate editors often work with dozens of images. Speed up your workflow by:
- Creating Photoshop actions for common adjustments.
- Using File > Automate > Batch to apply sky replacement settings across multiple files.
- Keeping a dedicated sky library organized by weather and time of day.
Pro Tips for Real Estate Editing
- Always deliver realistic results—buyers expect the property to look like the photos.
- Avoid dramatic storm or sunset skies unless specifically requested.
- For twilight conversions, pair sky replacement with non-destructive dodge & burn for realistic lighting.
- Save alpha channels for complex selections like trees or rooflines for reuse across multiple edits (saving selections with alpha channels).
Related Reading
- Sky Replacement in Photoshop
- Handling Reflections & Glass During Sky Replacement
- Color Matching Foregrounds with Skies
Sky replacement is a must-have skill in real estate photo editing. By combining Photoshop’s automation with advanced masking techniques and proper reflection handling, you can deliver market-ready property images that make listings shine.


