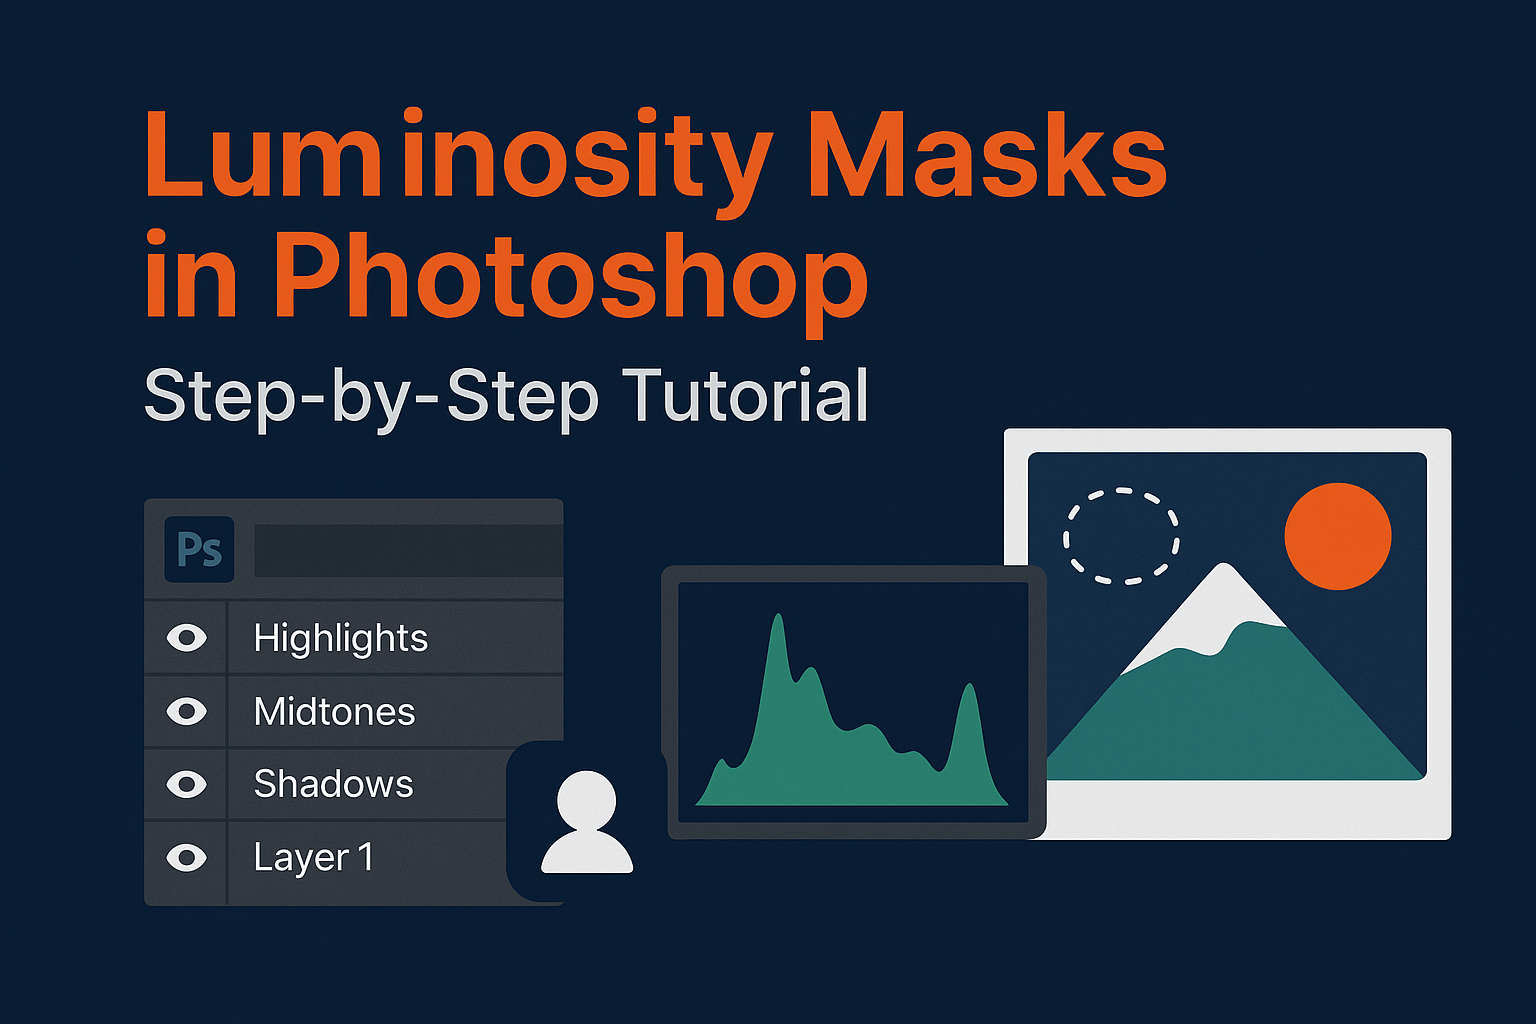
Luminosity Masks in Photoshop (Step-by-Step Tutorial)
Luminosity masks allow you to create selections based on brightness levels in your photo. They’re an advanced masking technique for precise edits perfect for landscapes, sky replacements, and targeted adjustments. This guide walks you through how to create, refine, and apply luminosity masks like a pro.
What Are Luminosity Masks?
A luminosity mask is a grayscale selection created from the brightness values of an image. Instead of painting manually, Photoshop automatically generates masks where highlights, midtones, or shadows are selected based on luminosity.
This results in ultra-precise selections that transition naturally, avoiding hard edges or halos.
Why Use Luminosity Masks?
- Precision: Target highlights, shadows, or midtones with surgical accuracy.
- Natural Blending: Smooth tonal transitions prevent artificial-looking edits.
- Non-Destructive: Save masks as alpha channels for reuse.
They’re especially popular among landscape photographers who want to control skies, foregrounds, and shadows separately.
Step-by-Step: Creating Luminosity Masks
Method 1: Using Channels
- Open the Channels panel (Window > Channels).
- Hold Ctrl/Cmd and click the RGB channel thumbnail → this loads a selection of the brightest areas.
- Save this selection as a new alpha channel.
- Duplicate and refine (Levels/Curves) to create “Lights 1, Lights 2, Lights 3” masks with increasing precision.
Method 2: Using Apply Image
- Create a new alpha channel.
- Go to Image > Apply Image.
- Blend channels with Multiply or Screen modes for targeted masks.
Refining and Saving Luminosity Masks
Once a luminosity mask is created:
- Use Levels or Curves to increase contrast and refine selections.
- Save masks as alpha channels for reuse in future edits.
- Load masks anytime via Select > Load Selection.
Practical Applications of Luminosity Masks
1. Landscape Editing
Brighten skies while keeping shadows untouched by applying curves through a “Lights” mask.
2. Sky Replacement
Use a “Lights” mask to isolate bright sky areas and refine with advanced layer masking techniques.
3. Portrait Retouching
Target skin highlights separately from shadows for subtle, natural adjustments.
Advanced Techniques
- Midtone Masks: Subtract “Lights” from “Darks” to isolate midtones.
- Zone Masks: Create masks for specific exposure zones (Zone System workflow).
- Combine with Blend If: Use luminosity masks alongside Blend If sliders for ultra-refined blending.
For complex composites, combine luminosity masks with sky replacement techniques for flawless realism.
Common Mistakes & Fixes
- Mask too subtle? Refine with Curves to increase contrast.
- Mask too harsh? Feather the mask or use lower contrast adjustments.
- Confused by multiple channels? Label masks clearly (Lights 1, Darks 2, Midtones 3, etc.).
Related Reading
Luminosity masks unlock a new level of precision in Photoshop. Combine them with advanced masking workflows and sky replacement techniques to elevate your composites and edits to a professional standard.


