Sky Replacement in Photoshop: Complete Guide with Pro Tips
Flat skies can kill a photo’s mood. With Photoshop’s Sky Replacement tool and advanced masking, you can swap a dull background for a dramatic sky in minutes without looking fake. This guide covers beginner to pro workflows, color harmonization, and troubleshooting.
Why Sky Replacement Matters
Skies shape the mood of an image. A flat overcast sky can make landscapes look lifeless, while a dramatic sunset or moody storm sky adds emotional depth. That’s why sky replacement in Photoshop has become an essential skill for photographers, retouchers, and marketers alike.
From real estate images that sell properties to travel photography portfolios that need impact, swapping skies can dramatically change perception. The key is making the edit invisible the viewer shouldn’t know the sky was replaced.
Using Photoshop’s Sky Replacement Tool
Introduced in Photoshop 2021, the Sky Replacement tool automates much of the process. Find it under Edit > Sky Replacement. Photoshop analyzes the image, selects the sky, and blends a new one into place.
Adjustments Available
- Shift Edge: Expands or contracts the sky edge selection.
- Fade Edge: Softens the transition between sky and subject.
- Brightness/Temperature: Adjusts the replacement sky to match the scene’s mood.
- Foreground Lighting: Harmonizes lighting by tinting the subject with the sky’s colors.
Once applied, the result appears as a group with adjustment layers and masks—fully editable. See Adobe: Sky Replacement.
Related: Advanced Layer Masking
Adding and Managing Custom Skies
Photoshop comes with default sky packs, but you can add your own:
- Go to Edit > Sky Replacement.
- Click the sky thumbnail > gear icon > Import Skies.
- Add JPEG or PNG skies (consider building a sky library organized by type: sunny, cloudy, dramatic).
Pro tip: Use high-resolution skies that match the focal length and perspective of your photo for realism.
Manual Sky Replacement with Masks
Automation is convenient, but manual masking gives maximum control. For tricky edges like trees, hair, or glass:
- Select & Mask: Refine trees, branches, and translucent structures.
- Channel-based masks: Build high-contrast alpha masks for precision.
- Vector masks: Perfect for clean horizons and architectural edges.
Blend the new sky on a separate layer below the subject, refine the mask edge, and add gradient blending for smooth transitions.
Related: Photoshop Pen Tool Guide
Color Matching Foreground and Sky
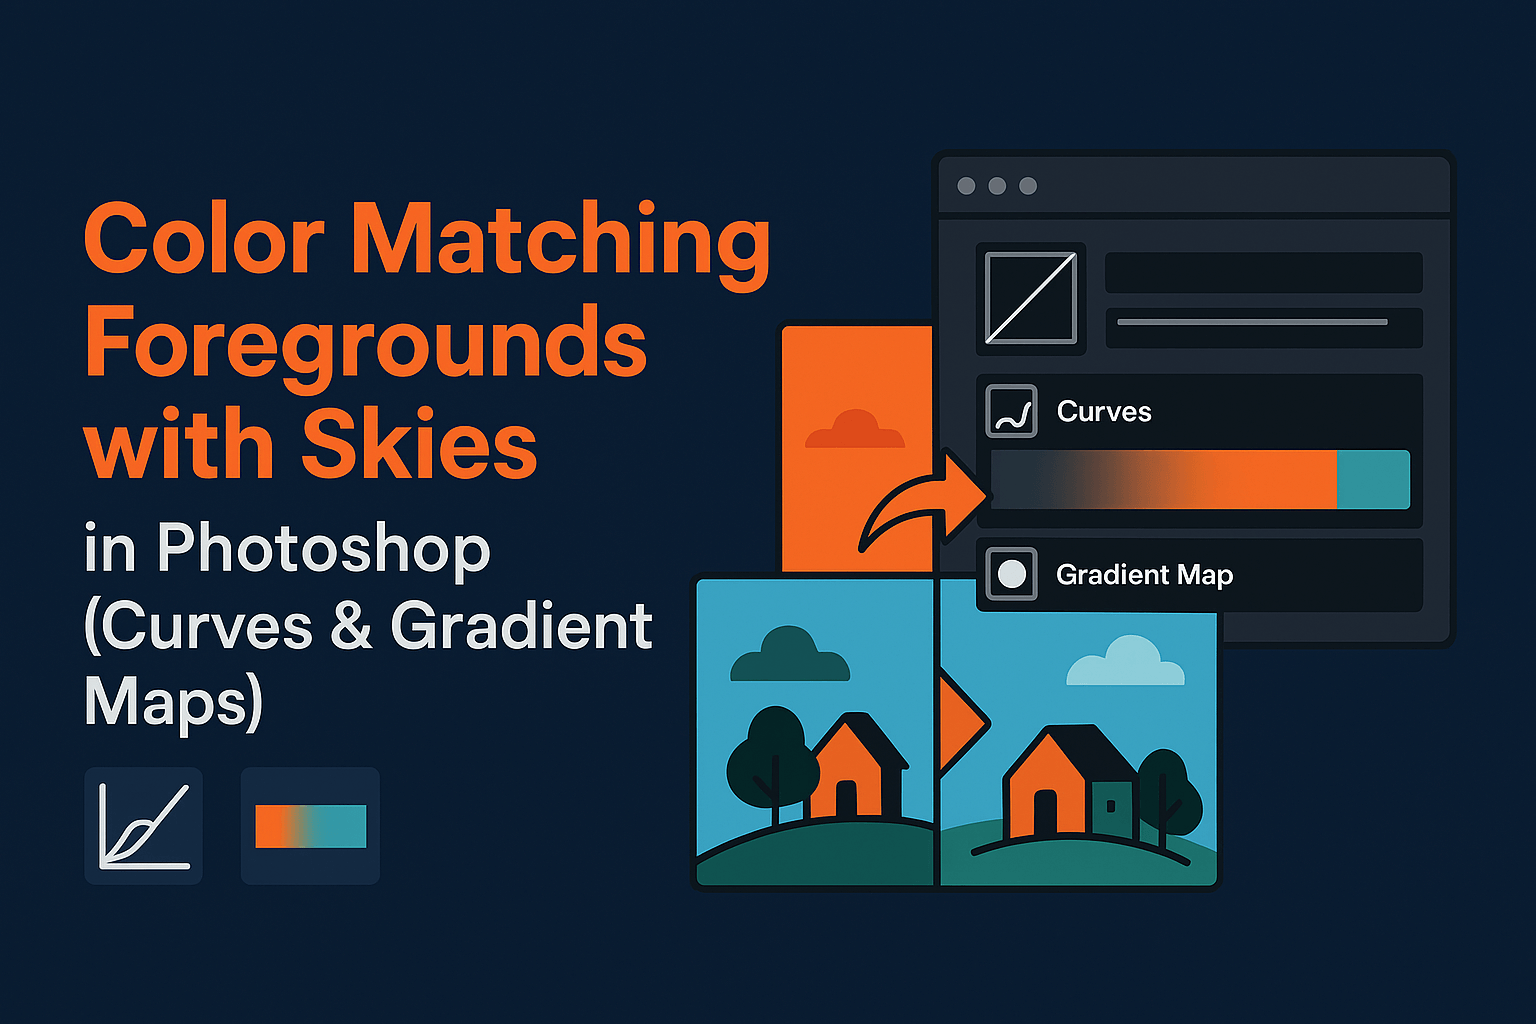
Nothing breaks realism faster than mismatched tones. If you replace a gray sky with a golden sunset, the foreground must warm up too. Use:
- Color Balance: Add warmth or coolness to match the sky.
- Curves: Adjust brightness/contrast for global harmony.
- Gradient Maps: Apply subtle overlays for mood consistency.
Tip: Check your histogram after changes blown highlights or crushed shadows reveal overcorrection.
Lighting Adjustments for Realism
Advanced composites require matching not just color but directional light and shadows:
- Identify light direction in the replacement sky.
- Enhance or correct shadows in the foreground with Dodge & Burn or Curves.
- For dramatic sunsets, add a subtle warm glow layer on Soft Light blend mode.
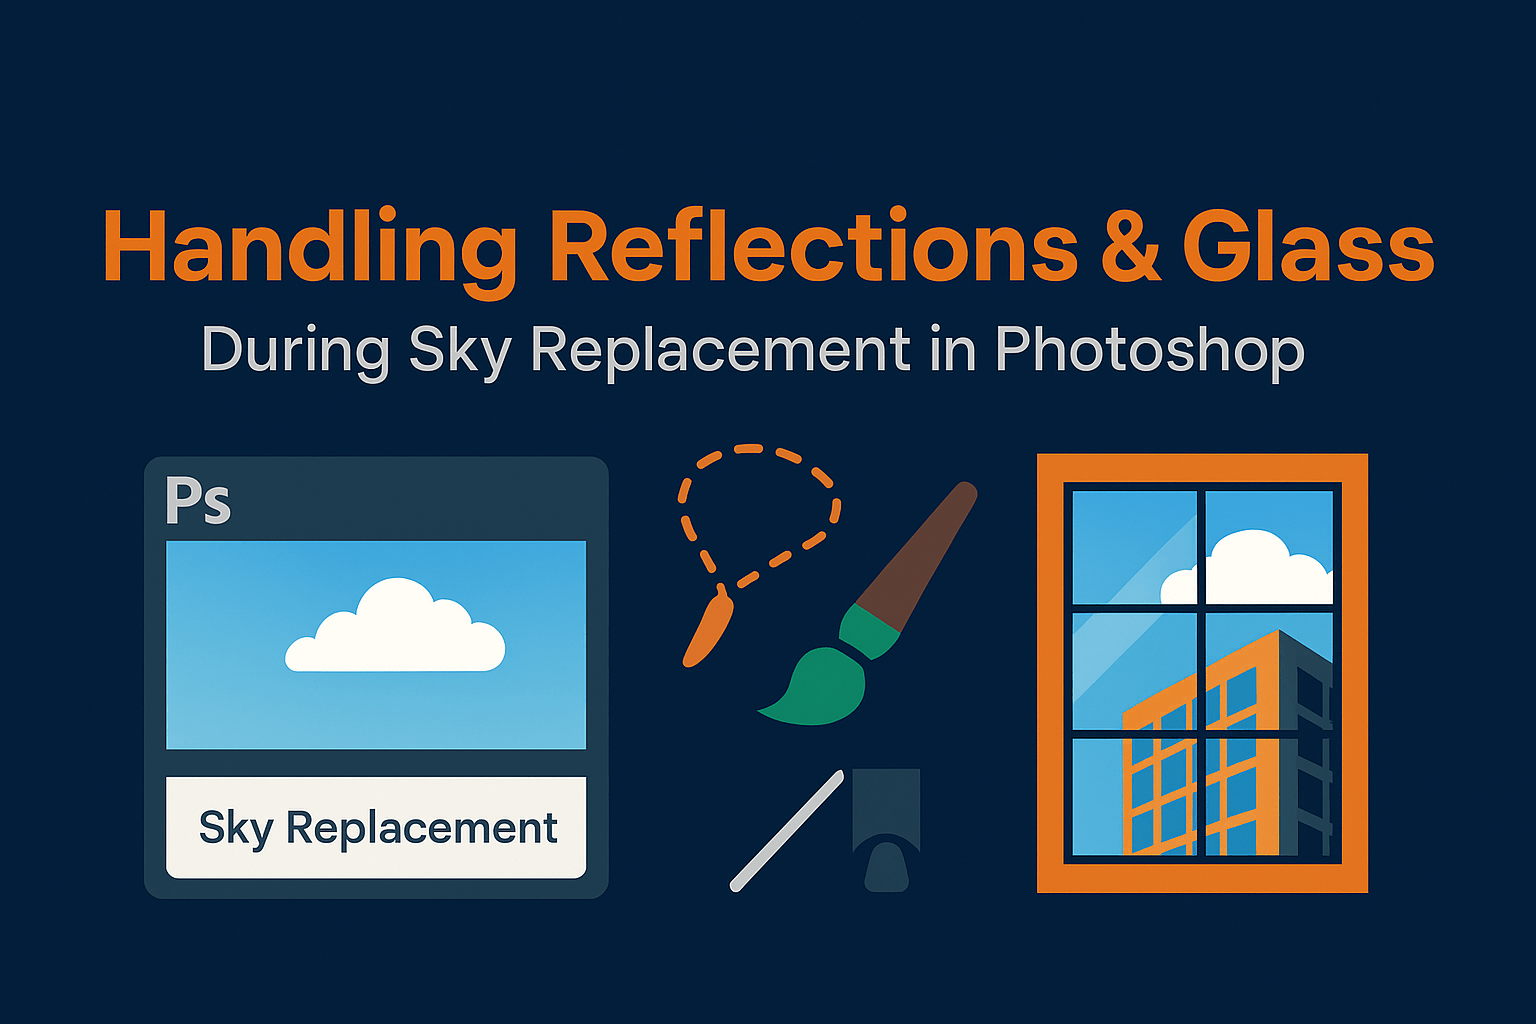
Realism comes from details watch reflections in water, glass, or shiny surfaces and adjust accordingly.
Advanced Techniques (Blend If, Channels)
Pro editors often combine multiple methods:
- Blend If: Separate luminance values to auto-hide bright areas like skies, then refine with masks.
- Channels: Build masks based on color contrast between sky and foreground.
- Luminosity Masks: Target highlights, midtones, or shadows for nuanced adjustments.
This layered approach is slower but creates industry-grade results for advertising or print.
Practical Compositing Recipes
Recipe 1: Blue Sky for Real Estate Photography
- Use Sky Replacement with a clear blue sky.
- Increase Foreground Lighting to brighten building façades.
- Subtly desaturate reflections for realism.
Recipe 2: Dramatic Sunset for Travel Portrait
- Import a custom golden-hour sky.
- Warm foreground with Color Balance (+red/yellow).
- Add soft orange glow on subject’s rim for backlight realism.
Recipe 3: Moody Storm Sky for Concept Art
- Manually mask jagged mountains with a channel mask.
- Add dark storm clouds; drop brightness by -15.
- Introduce gradient fog to blend horizon and foreground.
Troubleshooting Common Issues
Halos Around Trees
Refine Edge in Select & Mask; reduce Fade Edge. Add slight Gaussian Blur to the mask if needed.
Mismatched Colors
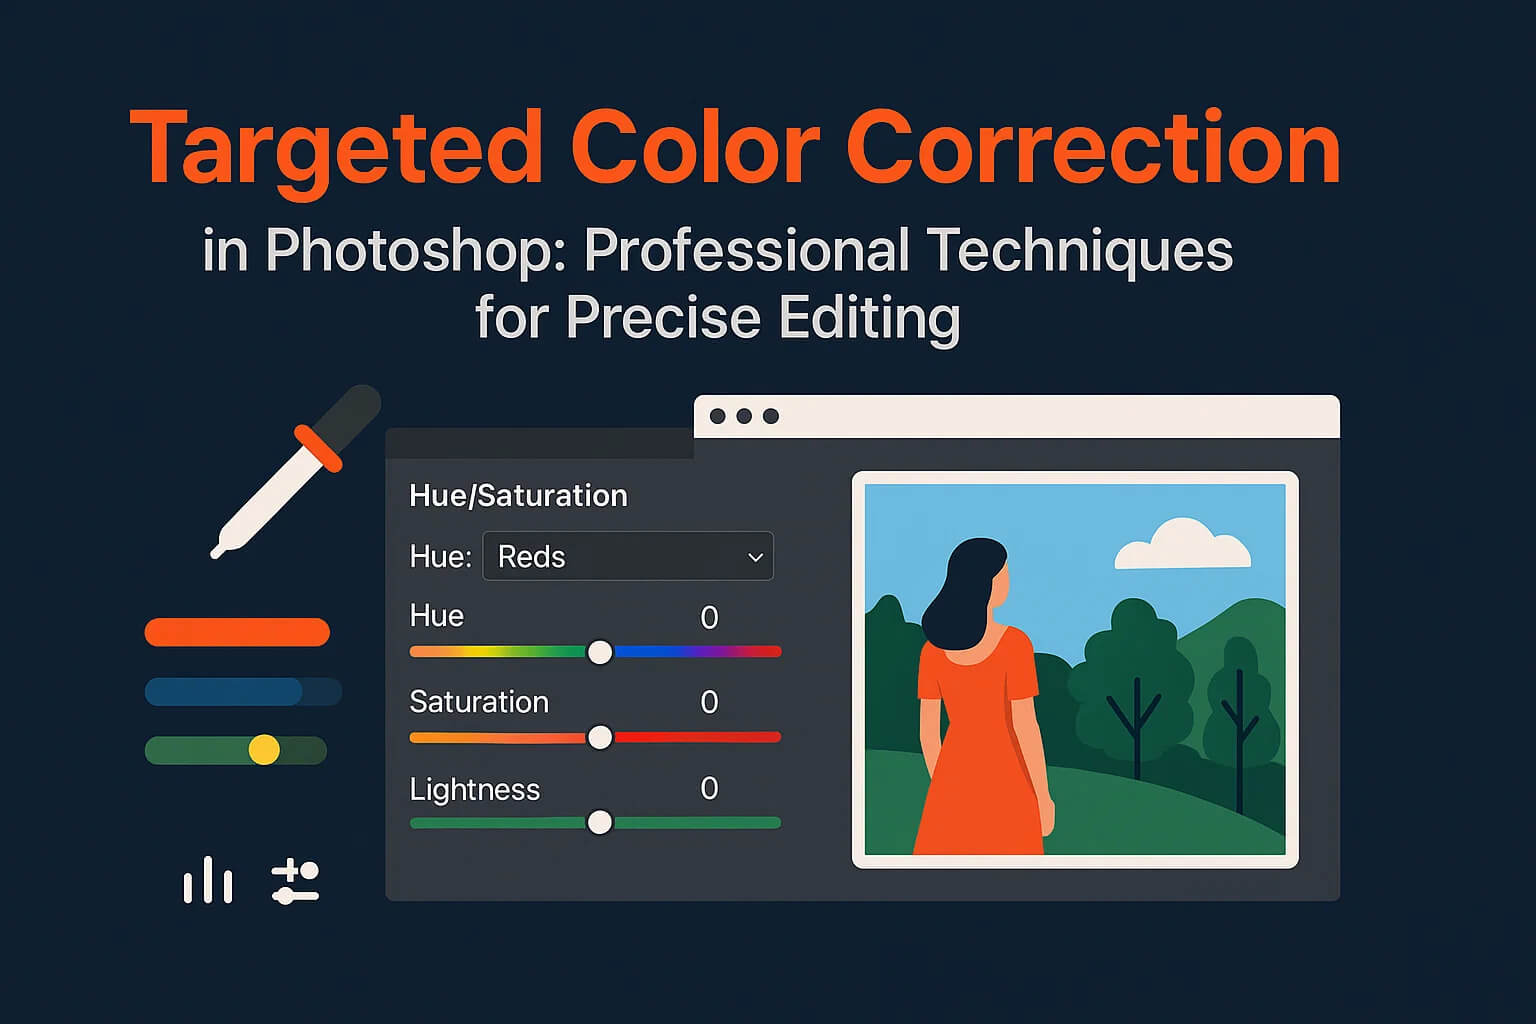
Apply a clipped Hue/Saturation adjustment to either sky or foreground to sync hues.
Sky Perspective Feels Wrong
Use Transform (Cmd/Ctrl+T) to warp the replacement sky; match horizon lines carefully.
Too Perfect / Overdone Look
Reduce opacity of the new sky layer; add subtle haze or gradient to soften intensity.
Pro Tips & Final Checklist
- Always match horizon lines between sky and photo.
- Audit color consistency across the scene.
- Check realism by flipping the canvas horizontally.
- Save custom skies into libraries for quick reuse.
- Keep edits non-destructive: use masks, adjustment layers, and Smart Objects.
Authoritative Resources
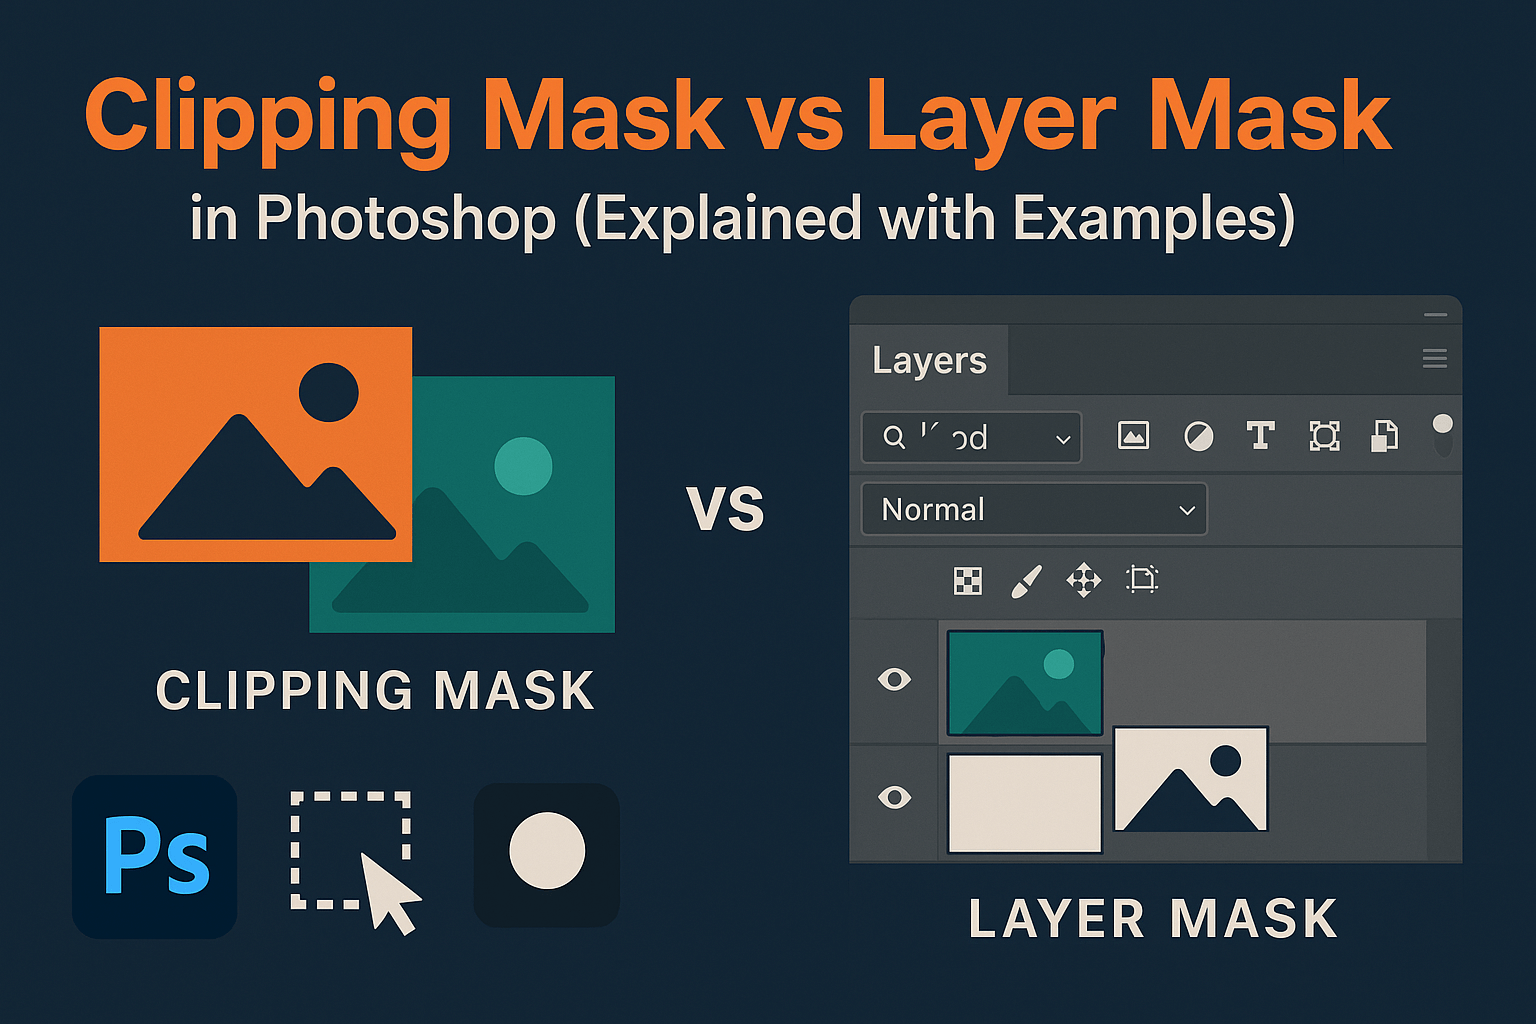
Continue your learning journey: Advanced Layer Masking · Clipping vs Layer Masks · Luminosity Masks.


