Is the Pen Tool better than quick selection tools?
The Pen Tool in Photoshop is the key to creating razor-sharp selections and vector masks. This guide explains how it works, step-by-step techniques, and pro tips for combining vector and pixel masks in advanced photo editing workflows.
What is the Pen Tool in Photoshop?
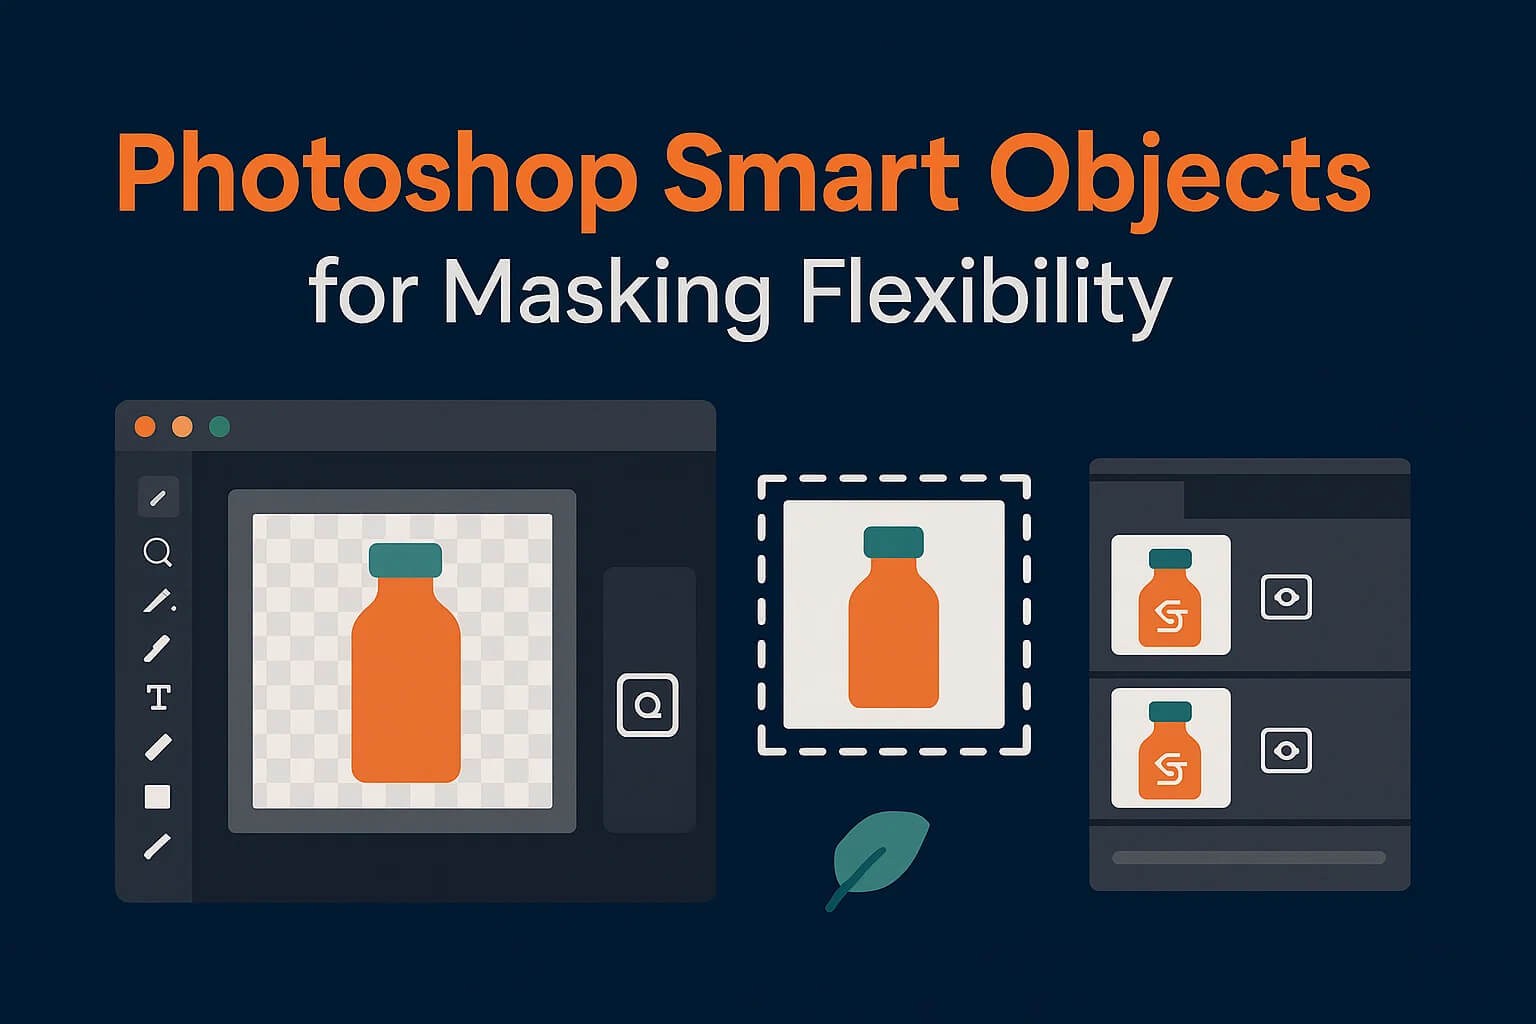
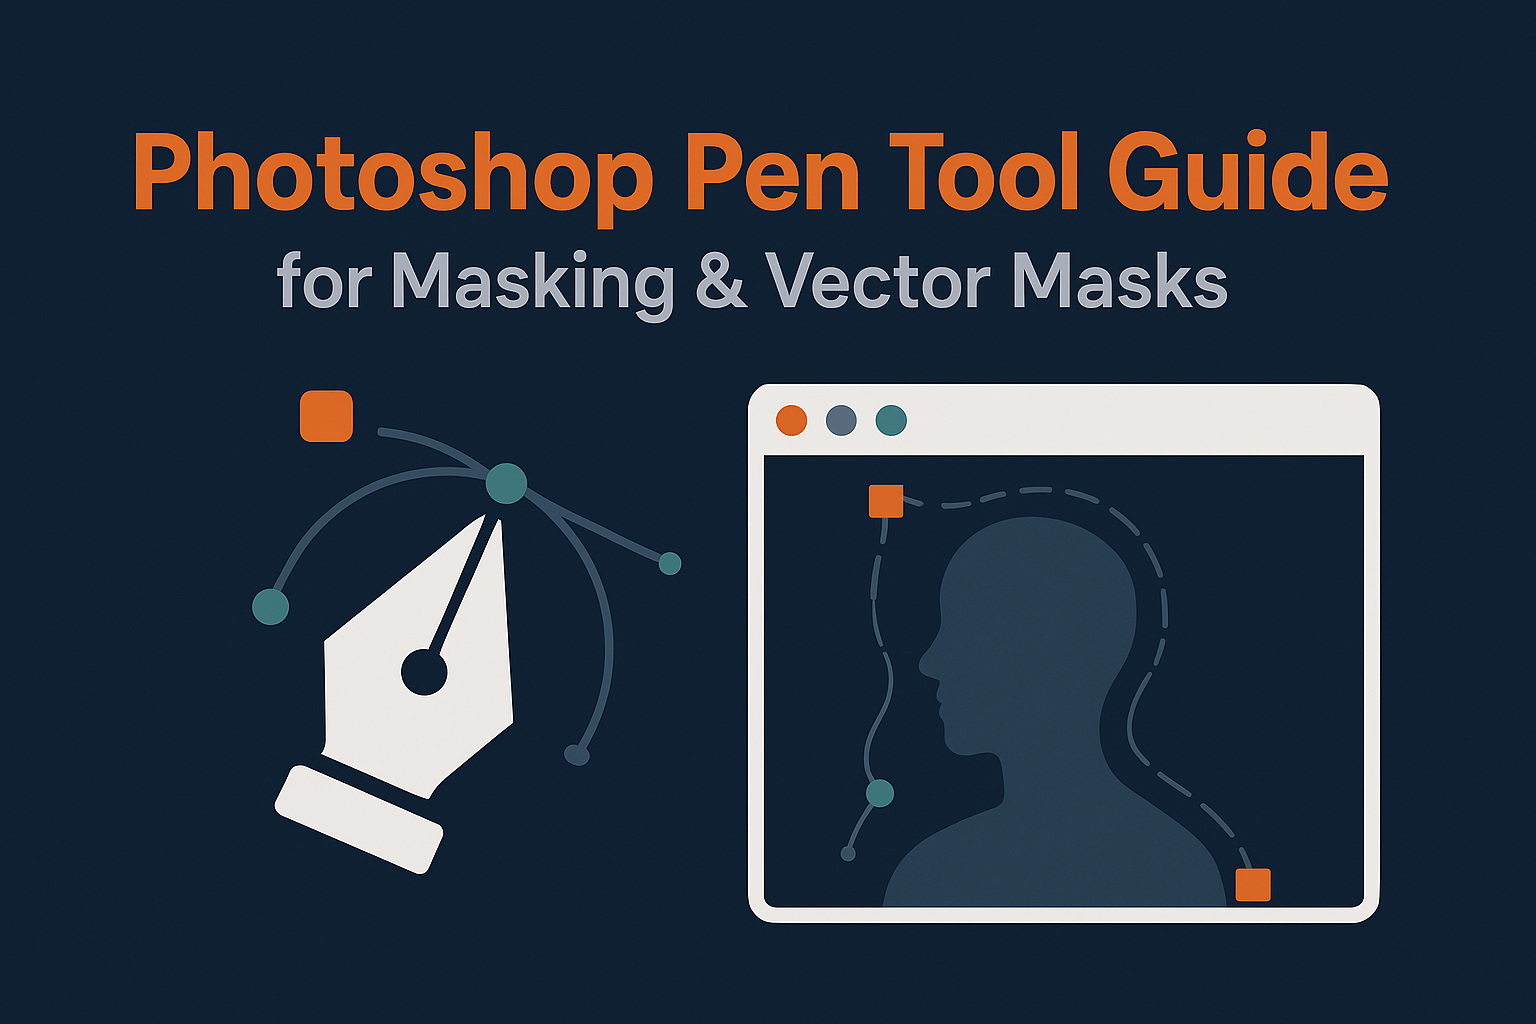
The Pen Tool is Photoshop’s most precise selection tool. Instead of painting or clicking pixels, you create paths defined by anchor points and curves. These paths can then be converted into vector masks, which are resolution-independent and perfect for clean, scalable edges.
Vector masks are especially useful in product photography, UI mockups, packaging design, and any project where razor-sharp edges matter.
From Paths to Vector Masks
Once you’ve drawn a path with the Pen Tool:
- Go to the Paths panel.
- Click Load Path as Selection or Make Vector Mask.
- The path becomes a mask—editable at any time by adjusting anchor points.
This non-destructive workflow ensures your cutouts remain crisp even after resizing.
Pen Tool Basics: Paths, Anchor Points, and Handles
- Anchor Points: Define the shape’s structure.
- Handles: Control curve direction and smoothness.
- Path Segments: The lines or curves connecting anchor points.
Shortcuts:
- Alt/Option: Adjust one handle independently.
- Shift: Constrain angles to 45° increments.
- Ctrl/Cmd: Temporarily switch to Direct Selection for moving points.
Step-by-Step: Creating a Vector Mask
Example: Cutting Out a Product
- Select the Pen Tool (P).
- Zoom to 200% and begin placing anchor points around the product edge.
- Use curves for rounded areas; straight segments for hard edges.
- Close the path by clicking back on the starting point.
- Right-click the path > Make Selection or Create Vector Mask.
- Your object now has a crisp, scalable mask.
Advanced Techniques with the Pen Tool
- Combining Paths: Add or subtract shapes for complex cutouts.
- Convert Points Tool: Refine curves by switching anchor types.
- Feather Vector Mask: Add subtle softness without losing sharpness.
- Smart Objects: Place masked elements into Smart Objects for multiple reuses.
Combining Vector and Pixel Masks
Vector masks provide precision, but sometimes you need organic softness. The solution is to combine pixel and vector masks:
- Create a vector mask for the hard edges (product outline, buildings).
- Add a pixel mask to soften shadows, edges, or reflections.
This hybrid workflow is ideal for sky replacements, product photography, and advanced composites.
Troubleshooting & Common Mistakes
- Jagged edges? Zoom in further and place more anchor points.
- Path won’t close? Make sure you’re clicking directly on the first anchor point.
- Mask looks too harsh? Apply slight feathering or add a pixel mask on top.
- Too many points? Use fewer, smoother curves—Photoshop handles Beziers elegantly.
Related Reading
Once you’ve mastered the Pen Tool, you’ll see why professionals swear by advanced layer masking workflows. Pair your vector masks with sky replacement techniques to create seamless, production-ready composites.


